How to make ai videos: how to make ai videos for beginners — from images to life
Have you ever looked at a great photo and wondered what it would look like in motion? The process of turning that picture into a video is more accessible than you might think. It really boils down to having a high-quality source image, using a specialized AI tool to generate movement from text prompts, and then adding some final polish with standard editing software.
This approach breathes life into a static photo, letting you create a dynamic video without needing any advanced animation skills.
Bringing Static Images to Life with AI
Turning a single photo into a compelling video isn't some far-off concept anymore; it's a real-world workflow that creators and brands are using right now. This is your playbook for giving a still moment a completely new, moving story. The technology has evolved well beyond the experimental stage and is now a seriously powerful tool for anyone who needs to produce engaging content quickly.
From Niche Experiment to Mainstream Tool
Not that long ago, animating a photo meant wrangling complex software and having some serious technical know-how. Today, AI platforms do most of the heavy lifting, freeing you up to focus on your creative vision. This change has made video creation much more accessible, opening up possibilities for all kinds of people.
- Social Media Managers can now pump out a high volume of eye-catching content for platforms like Instagram Reels and TikTok.
- Small Business Owners can create compelling product videos or marketing assets without breaking the bank.
- Independent Artists have found a new way to bring their digital illustrations and photography to life.
The whole process, from the first idea to the final export, is built to be intuitive. You'll map out your concept, let the AI generate the core animation, and then put the finishing touches on it in post-production. This guide will break down every step, showing you exactly how to steer the AI to get the look you're after.
The global AI video generator market isn't just a niche anymore; it's a booming commercial sector. One recent report valued it at USD 554.9 million and projects a compound annual growth rate of nearly 20% through 2030. You can learn more about the growth of AI video tools in the full report.
This explosive growth shows just how essential these tools are becoming. In the next sections, we'll get into the hands-on workflow, starting with how to properly plan your creative vision before you even touch an AI tool.
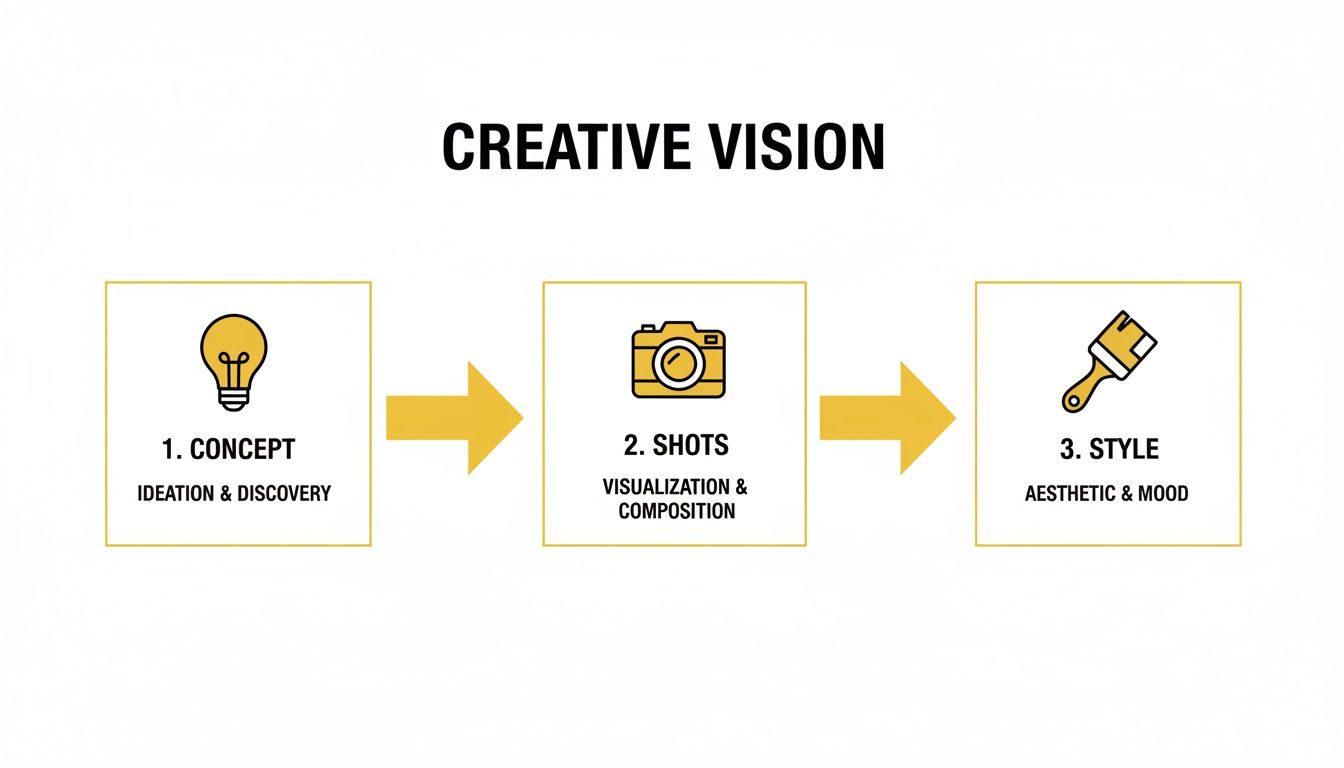
Mapping Out Your Creative Vision
Before you even think about prompts or settings, the most important work happens away from the keyboard. A solid, well-thought-out plan is what elevates a random animation into a purposeful video. This pre-production phase is all about building a creative foundation that will steer the entire project.
Without this groundwork, you're just gambling with the AI. You might get a cool-looking clip, but it probably won’t tell the story you intended or connect with your audience. Taking a bit of time to map out your vision first will save you hours of frustrating trial-and-error later on.
Nail Down Your Core Concept
Every great video boils down to a single, compelling idea. What's the one thing you want your audience to feel or understand? Are you aiming for an atmospheric, moody piece for a song, a dynamic product showcase, or a tiny, narrative-driven scene? Keep it simple.
For instance, an idea like "a cool video about my coffee shop" is way too vague. A much stronger concept would be "a 15-second video showing a cozy, rainy morning at my coffee shop, focusing on the steam rising from a fresh latte." That specificity gives you a clear path forward.
To really sharpen your concept, ask yourself a few questions:
- What's the primary emotion? Are you going for excitement, tranquility, humor, or wonder?
- Who's this for? A video for TikTok needs a totally different pace and style than one for a corporate presentation.
- What's the key takeaway? What single message should stick with the viewer?
Answering these gives you a creative anchor for the whole project.
Structure Your Story with a Shot List
Once your concept feels solid, it's time to create a simple shot list. This doesn't have to be some complex Hollywood-level document. Just think of it as a basic blueprint that translates your idea into a sequence of visual instructions for the AI. This is where you start thinking like a director.
Your shot list should detail both the camera's viewpoint and its movement for each part of your video.
Camera Angles & Framing
- Wide Shot: Establishes the scene and shows the full environment. (e.g., "A wide shot of a futuristic cityscape at night.")
- Medium Shot: Frames a subject from roughly the waist up, perfect for showing action and body language. (e.g., "A medium shot of a chef expertly chopping vegetables.")
- Close-Up: Zooms in on a specific detail, usually a face, to really drive home an emotion. (e.g., "A close-up of a character's determined eyes.")
Camera Movements
- Pan Left/Right: The camera sweeps horizontally across a scene. (e.g., "Slow pan right across a mountain range at sunrise.")
- Tilt Up/Down: The camera moves vertically. (e.g., "Tilt up from the base of a giant redwood tree.")
- Zoom In/Out: Moves closer to or further away from your subject. (e.g., "A dramatic slow zoom in on a mysterious object on a table.")
By planning your shots, you're not just telling the AI what to create; you're telling it how to show it. This control is everything when it comes to crafting a video that flows well and keeps people watching.
Define a Consistent Art Direction
Finally, you need to lock in a consistent visual style, or what's known as the art direction. This choice dictates the mood, tone, and overall impact of your video. Bouncing between different styles will make the final product feel disjointed and amateurish.
Think about which of these common styles fits your project:
- Photorealistic: Aims for a look that's as close to a real photograph or video as possible.
- Cinematic: Often uses dramatic lighting, specific color grading, and a widescreen aspect ratio for that movie-like feel.
- Anime/Manga: Employs the distinct, stylized look of Japanese animation.
- Digital Art: A huge category that can include anything from cyberpunk and fantasy illustration to vaporwave aesthetics.
Your chosen style should always serve your core concept. A cinematic style would be a great fit for a dramatic story, while a vibrant, illustrative look might be better for a fun product ad. Once you pick a lane, stick with it across all your prompts to ensure the final video feels cohesive.
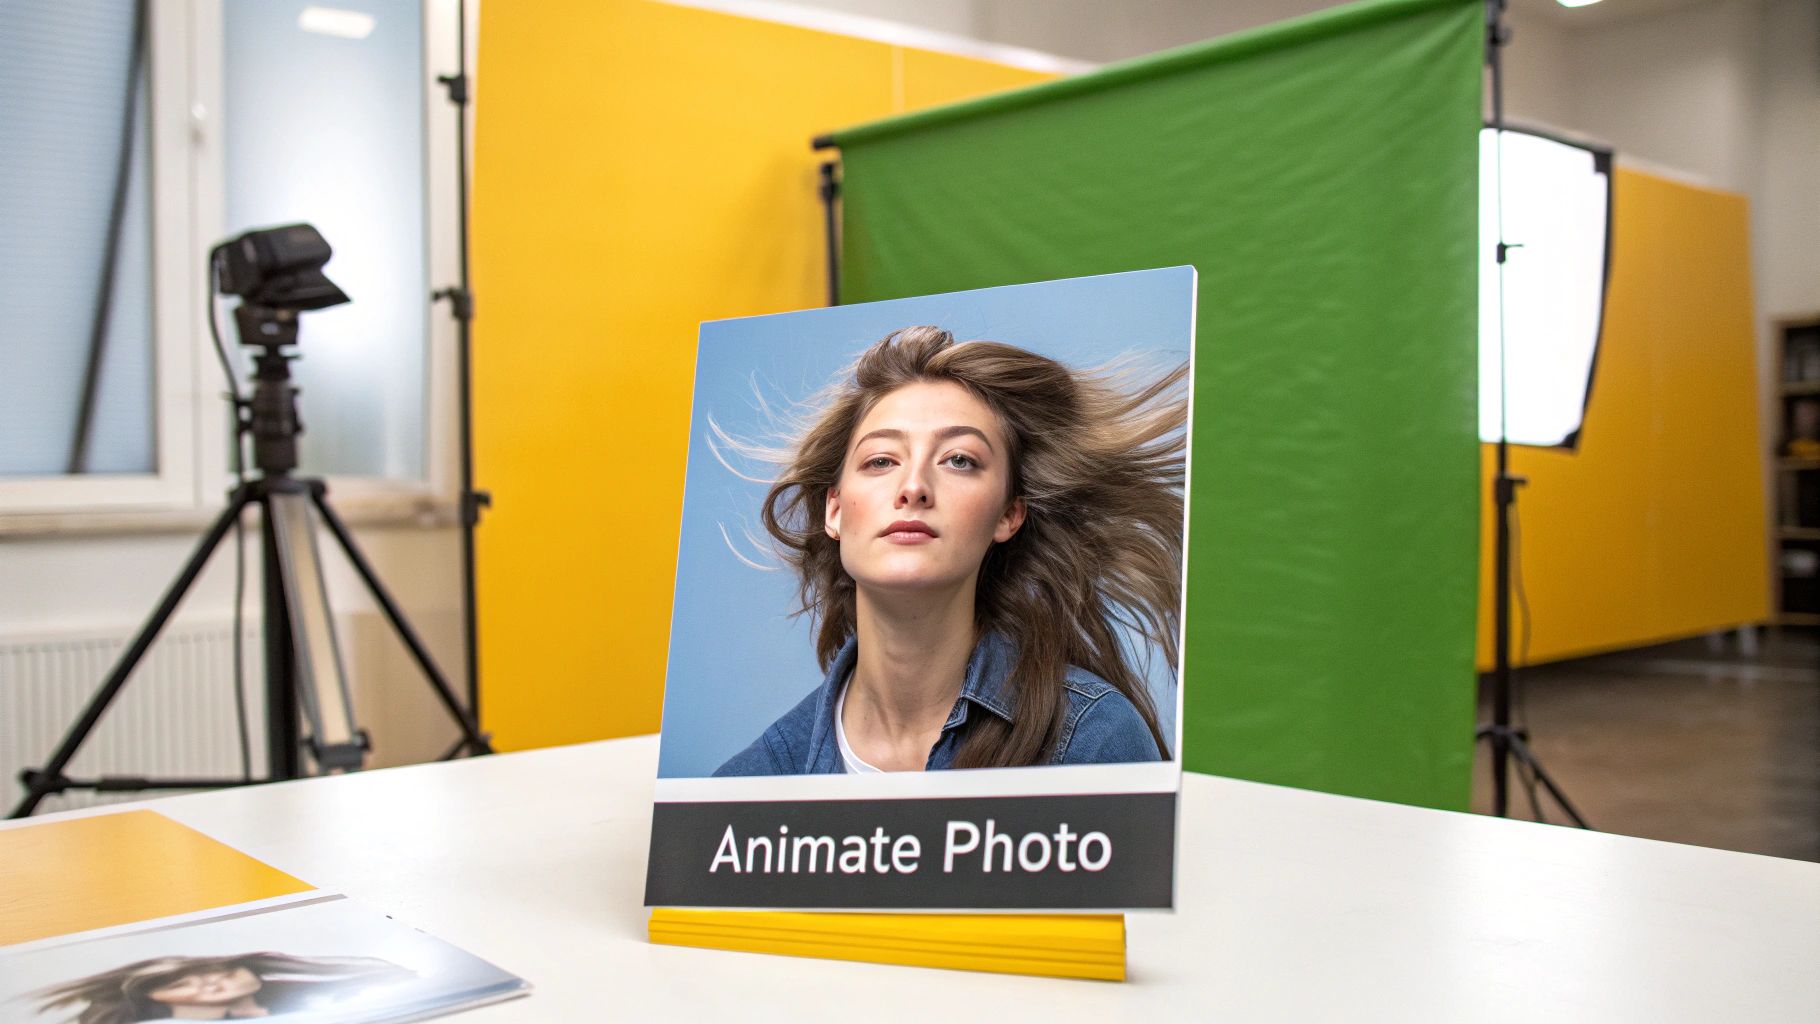
Bringing Your Image to Life with AI
Alright, you’ve got your concept, your shots are planned out, and your style is locked in. Now comes the fun part: turning that single, static image into a living, breathing video clip. This is where your creative vision meets the machine, and success hinges on two things: the quality of your starting image and how clearly you can articulate your vision through text prompts.
This isn’t just a one-click process. Think of it as a conversation with the AI. You're learning its language and guiding it to translate your words into the exact motion you have in your head.
As you can see, a solid plan is your foundation. A clear concept makes every decision that follows—from shot composition to stylistic choices—so much easier and more effective.
First, Get Your Source Image Ready
The golden rule of AI video is simple: garbage in, garbage out. A low-quality source image will give you a blurry, distorted mess. You need to give the AI a clean, detailed blueprint to work from.
Here’s what I always check for before uploading an image:
- High Resolution: Don't skimp on this. The more pixel data the AI has to work with, the sharper and more detailed your final video will be. I always aim for a minimum of 1080p (1920x1080 pixels), but bigger is almost always better.
- A Clear Subject: If your main subject is out of focus or poorly defined, the AI will get confused. This is often what causes that weird, "melty" look you see in bad AI videos. Make sure your subject is crisp and clear.
- Good, Even Lighting: Harsh shadows or blown-out bright spots are tough for the AI to interpret. An image with balanced lighting provides a much better canvas for generating realistic motion and texture.
A quick trip to your favorite photo editor can work wonders. A simple crop to improve framing or a quick adjustment to brightness and contrast can make a world of difference in the final animation.
Crafting Prompts That Actually Work
Your prompt is your steering wheel. It’s how you direct the AI. I’ve learned that the difference between a generic, floaty animation and a compelling, intentional one often comes down to a few well-chosen words. Specificity is everything.
A prompt like "a person walking" is a total crapshoot. You might get a slow shuffle, a power walk, or something in between. It's a gamble.
Now, let's get specific: "a person striding confidently down a city sidewalk at dusk, with a slight bounce in their step."
See the difference? This prompt gives the AI so much more direction:
- The Action: "Striding confidently" isn't just walking; it implies purpose and energy.
- The Scene: "down a city sidewalk at dusk" sets the entire mood and tells the AI how to handle the lighting.
- The Nuance: "with a slight bounce in their step" is the magic touch. It adds personality and realism.
The real trick to effective prompting is to paint a vivid picture with your words. Don't just describe the action. Describe the feeling, the environment, and the tiny details that make a scene feel real.
Taking Control of the Camera
Great prompts don't just control the subject; they control the camera, too. This is how you move from simple animations to truly cinematic sequences. Adding camera commands into your prompts elevates your work and guides the viewer's eye just like a real director would.
For instance, instead of just "a close-up of a face," try this: "a slow dolly zoom in on a person's face, revealing a subtle smile." That single instruction creates dynamic movement, builds emotion, and is far more engaging than a static shot.
This kind of hands-on creativity is quickly becoming a standard skill. A recent survey found that nearly 83% of creators are already using AI in their workflows. Video creators are leading the pack, with 54% using AI for everything from brainstorming to final generation. You can see the full breakdown of how creators are using generative AI and how it's shaping the industry.
Dialing in Your Render Settings
Once your prompt is locked in, it's time for the final adjustments: the render settings. These are the knobs and dials that give you precise control over the final look and feel of your video. The terminology might vary between platforms, but the core concepts are universal.
- Motion Strength (or Motion Value): This is exactly what it sounds like—it controls how much movement the AI introduces. Low values are perfect for subtle things, like hair blowing in the wind. High values create intense, dramatic action.
- Consistency (or Coherence): This setting tells the AI how faithfully to stick to the original image. A high consistency value is great for keeping a character's face from changing, but it can sometimes make the movement feel a bit rigid.
- Seed Number: The seed is just a number that starts the generation process. The key takeaway here is that using the same seed, with the same image and prompt, will give you the exact same result every time. This is a lifesaver when you want to recreate a specific effect or maintain a consistent look across several shots.
To really get the hang of it, you have to experiment. Run a prompt with the default settings, then crank up the motion strength and see what happens. Try a few different seeds. This process of trial and error is how you'll truly master the tools and start creating AI videos that match the vision in your head.
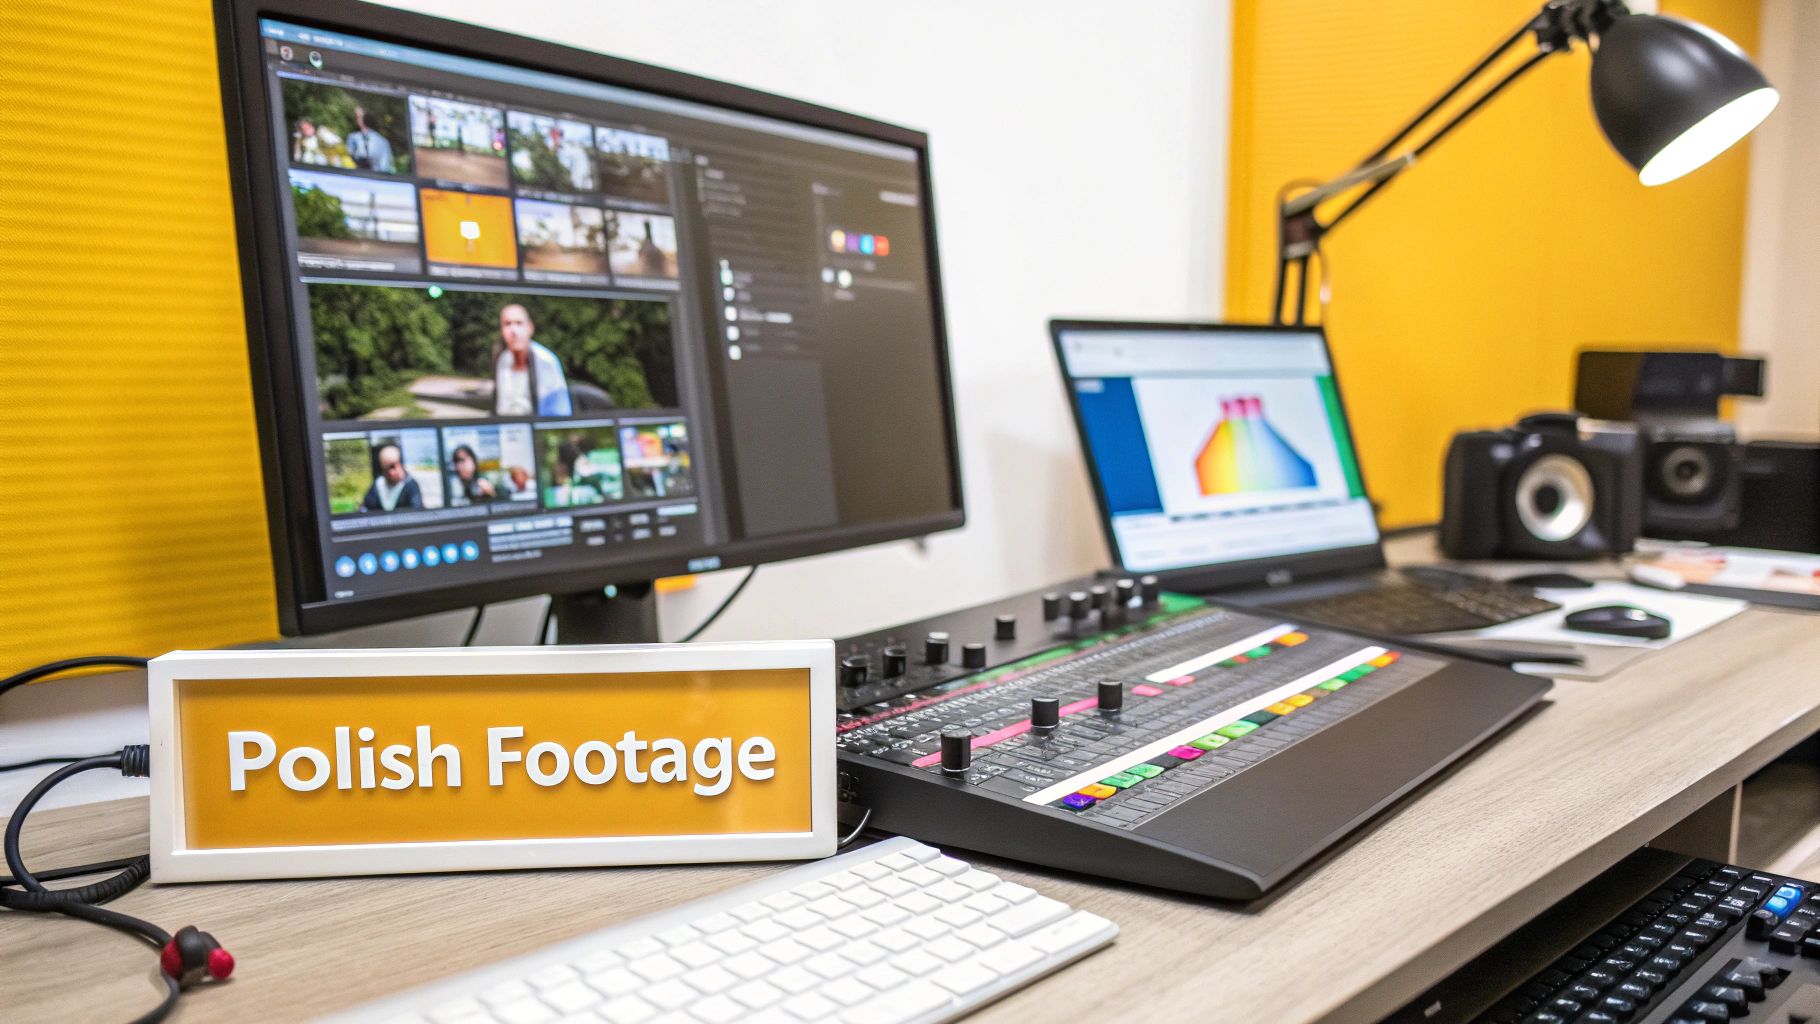
Polishing Your Raw AI Footage
Getting that first AI-generated clip feels like magic, but honestly, it's just the raw material. The real transformation happens in post-production. This is where you take those rough animations and shape them into a professional, engaging piece of content by assembling clips, smoothing out imperfections, and adding the layers of sound and color that bring it all to life.
Think of the generated footage as your clay. Your job now is to become the sculptor, refining it with intention. At this stage, it's less about generation and more about curation and enhancement.
Assembling and Pacing Your Story
First things first, you need to get all your individual clips into a video editing software. Whether you're using DaVinci Resolve, Adobe Premiere Pro, or even CapCut, the initial process is the same. Drop your shots into the timeline and arrange them according to your shot list to build the narrative flow you planned from the start.
Pacing is everything. This is your chance to trim the fat—cut the awkward pauses at the start of a clip or the weird motion at the end. Shaving off just a few milliseconds here and there can dramatically inject energy into your video, making it feel tight and purposeful.
- For fast-paced, high-energy content like a TikTok ad, you'll want quick cuts and shorter clips to keep viewers hooked.
- For more atmospheric, cinematic videos, let your shots breathe. Longer takes build mood and give the audience time to soak in the details.
This is the part of the process where your story truly takes shape. You're no longer just creating motion; you're building a cohesive sequence that guides your audience from one moment to the next.
AI Upscaling and Sharpening for Pro-Level Clarity
One of the biggest giveaways of AI-generated video is that tell-tale softness. Many tools generate clips at lower resolutions to save on computing power, which can leave your footage looking blurry, especially on larger screens. The solution is AI upscaling.
I personally rely on dedicated tools like Topaz Video AI for this, but many professional editors now have built-in upscaling features. These tools don't just stretch the pixels; they use machine learning to analyze the footage and intelligently add realistic detail, turning a 1080p clip into a crisp 4K one.
My Pro Tip: Always run your raw AI clips through an upscaler before you start color grading or adding any other effects. This gives you the highest quality foundation to build upon and ensures every edit you make afterward looks its absolute best.
Seriously, don't skip this step if you're aiming for a high-quality look. It sharpens faces, clarifies textures, and makes your AI world feel substantially more real.
Creating a Cohesive Mood with Color and Light
Even when using the exact same prompt, AI models can sometimes produce clips with slight variations in color or lighting. That's where color grading comes in. It's your secret weapon for unifying all those different shots into a single, cohesive visual style and establishing the emotional tone of your piece.
Want a warm, nostalgic feel? Push the oranges and yellows. Going for a cold, futuristic vibe? Emphasize the blues and cyans. The goal is simple: apply a consistent color palette across every clip so they all feel like they belong in the same world.
Beyond just color, you can also use relighting techniques right inside your editor. This involves adding digital light sources to:
- Draw attention to a specific part of the frame.
- Enhance shadows to create more depth and drama.
- Simulate realistic lighting, like the flicker of a candle or the glow from a phone screen.
These are the subtle adjustments that separate amateur work from professional productions. They fix the little inconsistencies inherent in AI generation and give you precise artistic control over the final image.
Bringing Your Video to Life with Audio
Visuals are only half the story. The right audio can completely change the viewing experience, turning a silent animation into something immersive and emotionally resonant. This is your final—and most crucial—layer.
Your audio toolkit has a few key components:
- Music: The soundtrack sets the entire mood. A powerful orchestral score can create a sense of epic scale, while a gentle piano track might evoke intimacy. Choose music that complements your visuals, not competes with them.
- Sound Effects (SFX): These are the small, ambient sounds that make your world feel real. The whoosh of wind, the distant hum of city traffic, or the crunch of footsteps on gravel—these details add texture and believability.
- Voiceover: If your video tells a story, a clear voiceover is your guide. Just make sure your recording is clean and well-mixed so it sits nicely with the music and SFX.
The entire post-production process highlights how much AI can accelerate content creation. In fact, industry reports show that AI tools can cut production time by a median of 62% for certain video workflows. That translates to roughly eight days saved per project, letting teams produce a whole lot more content. You can dig into these AI productivity statistics to see the full impact. By handling the heavy lifting of animation, AI frees you up to focus on these critical finishing touches.
Bringing Your AI Creation to the World
You’ve done the hard work—from concept to final render, your AI-powered video is complete. Now comes the final, crucial step: getting it out there for everyone to see. This isn't just about hitting "export"; it's about making smart choices so your video looks incredible on every platform, while also navigating the legal and ethical side of AI content.
Getting this last part right ensures your creation makes the impact it deserves and protects you and your brand from any potential issues down the road.
Nail Your Export Settings for Social Platforms
Every social platform is a different beast, with its own unique appetite for video formats. If you feed it the wrong file, it's going to chew it up and spit out a compressed, blurry mess. You've got to tailor your export settings to the specific destination.
Think of it this way: you wouldn't wear a tuxedo to a backyard barbecue. The same logic applies to your video's technical specs.
A Quick Cheat Sheet for Major Platforms
To save you the headache, here’s a breakdown of the go-to settings for the big players. Sticking to these will give your content the best possible chance of looking sharp and professional.
| Setting | Instagram Reels & TikTok | YouTube (Standard) |
|---|---|---|
| Aspect Ratio | 9:16 (Vertical) | 16:9 (Horizontal) |
| Resolution | 1080 x 1920 pixels | 1920 x 1080 (1080p) or 3840 x 2160 (4K) |
| Frame Rate | 24-30 FPS | 24-60 FPS |
| Video Format | MP4 (H.264 codec) | MP4 (H.264 or H.265 codec) |
| Bitrate | 10-15 Mbps | 8-15 Mbps (1080p) / 35-68 Mbps (4K) |
For platforms like TikTok and Instagram Reels, that 9:16 vertical format is everything. Trying to cram a horizontal video into that space just screams amateur and kills engagement. For YouTube, 16:9 is the classic, but don't forget you can also upload vertical Shorts using the 9:16 specs.
Navigating the Legal and Ethical Waters
This is, without a doubt, the most important part of the process, especially if you’re making videos for a client or your own business. The rules around AI are still being written, but a few foundational principles will keep you on solid ground.
First, you absolutely must have the rights to your source image. If you grab a copyrighted photo from a Google search, any video you generate from it is built on a foundation of copyright infringement. Stick to images you've made yourself, stock photos you've licensed properly, or works in the public domain.
The terms of service for the AI tool you're using is your single most important legal document. Don't just scroll and click "I agree." Actually read it. Many platforms, like Runway, grant you full commercial rights on their paid plans, but others might restrict how you can use the output.
Ignoring the fine print is a massive gamble. The free plan you used to experiment might explicitly forbid using your creations for anything that makes money. Violating those terms can get you banned or even land you in legal hot water.
Why You Should Be Transparent About Using AI
In a world filled with AI-generated content, being upfront builds trust. People are genuinely curious—and sometimes a little wary—about how things are made. Disclosing your use of AI is quickly becoming the new standard.
Here’s how to do it without making a big deal out of it:
- On Social Media: Just add a simple hashtag like #AIVideo or #MadeWithAI to your caption. It's clean, simple, and honest.
- For Commercial Work: If the video is part of an ad or a corporate project, a small, subtle text overlay saying "Imagery generated with AI" can work well, depending on the brand's style.
- Use Platform Labels: Major platforms are introducing their own disclosure tools. YouTube, for instance, now has a checkbox to label content made with generative AI. Always use these built-in features when they’re available.
Being transparent doesn't devalue your creative effort. If anything, it positions you as a forward-thinking creator and can spark great conversations with your audience. By exporting your video with care and handling the legal side with diligence, you can share your work with total confidence.
Got Questions? We've Got Answers.
As you start turning images into videos, you're bound to hit a few snags. It happens to everyone. From weird legal questions to technical glitches that make you want to pull your hair out, let's walk through some of the most common issues creators run into.
Getting these things sorted out now will save you a ton of frustration later. Think of this as your field guide for navigating the trickier parts of the AI video workflow.
Are There Legal Risks with Using AI Videos for My Business?
When you’re making AI videos for commercial projects, two big things should be on your radar: copyright and the platform's terms of service. The rulebook for AI-generated content is still being written, but these are the areas you absolutely need to pay attention to right now.
First, let's talk copyright. This is non-negotiable. You have to have the legal right to use your source image. Grabbing a random photo from a Google search is asking for trouble. To stay safe, stick to images you’ve created yourself, licensed from a reputable stock site like Getty Images or Adobe Stock, or that are confirmed to be in the public domain.
Next up, every AI video platform has its own set of rules for commercial use.
- Who owns it? Many services, especially on paid plans, will grant you full ownership of the video you create.
- Are there limits? Others might restrict how you can use the final product depending on your subscription, or they might hold onto some of the rights themselves.
- Do I need to give credit? Some platforms might require you to include an attribution credit when you publish the video.
Always, always read the terms of service before you use a generated video in a monetized project. It's the one document that can protect you from a world of legal pain down the road. Seriously, five minutes of reading now can save you a massive headache later.
How Can I Keep My Character Looking the Same in Different Clips?
Ah, the consistency problem. This is easily one of the biggest frustrations in AI video. Getting the same character to show up shot after shot without looking like a long-lost cousin can feel like rolling the dice. While there's no magic bullet just yet, a few key tactics will dramatically improve your odds.
Your best bet is to use a tool that has a dedicated "character reference" or "face lock" feature. These are game-changers. You can upload a few different photos of your character, which trains the AI on their specific features. The result? Much more consistent and believable output.
If your tool doesn't have that feature, it all comes down to the prompt. You have to get incredibly descriptive.
- Get Hyper-Specific: Don't just say "a man in a suit." Try something like, "A man with short, salt-and-pepper hair, a thin scar over his left eyebrow, wearing a navy blue pinstripe suit with a crisp white shirt."
- Reuse the Seed: Many tools let you see and reuse a "seed" number for a generation. The seed is the random starting point for the AI. Using the same seed for related shots can help you get a more consistent look and feel.
- Clean It Up in Post: Be prepared to do a little cleanup in your editing software. You might need to smooth over minor inconsistencies, like a shirt that changes color slightly or a subtle shift in facial structure between clips.
My AI Video Looks Blurry. What's the Fix?
That soft, slightly out-of-focus look is a classic giveaway of an AI-generated video. It happens because most tools generate clips at a lower resolution (often 720p or less) to handle the massive computing power required and keep things moving quickly.
Thankfully, you don't have to settle for blurry footage. A simple two-step process in post-production can make a world of difference.
First, your secret weapon is a dedicated AI video upscaler. Tools like Topaz Video AI are brilliant for this. They don't just stretch the pixels; they use machine learning to analyze the footage, intelligently add detail, and rebuild it at a higher resolution like 4K. This one step can take a soft clip and make it look sharp and professional.
Second, add a subtle sharpening filter when you're color grading. It's that final touch that can make fine details and textures pop, giving your video a more polished, high-quality feel. Of course, always start with the highest-resolution source image you can—it gives the AI a much better foundation to build upon.
Ready to leave the inconsistencies behind and create stunning AI videos where your character actually looks the same every time? PhotoMaxi was built to solve these exact problems. Our platform gives you dependable face likeness, upscaling, relighting, and the creative control you need to make professional-quality AI video a reality. Start creating with PhotoMaxi today!
Article created using Outrank
Related Articles

Ready to Create Amazing AI Photos?
Join thousands of creators using PhotoMaxi to generate stunning AI-powered images and videos.
Get Started Free