Generate Photos With AI From a Single Image
What if you could take a single photo and spin it into an entire gallery of professional, on-brand images—all without a single photoshoot? That's exactly what this guide is all about. We're going to walk through how to generate photos with AI, turning a static picture into a dynamic, monetizable content library. This is all about getting reliable character consistency and compressing weeks of production into just a few hours of focused, creative work.
The New Era of AI Content Creation
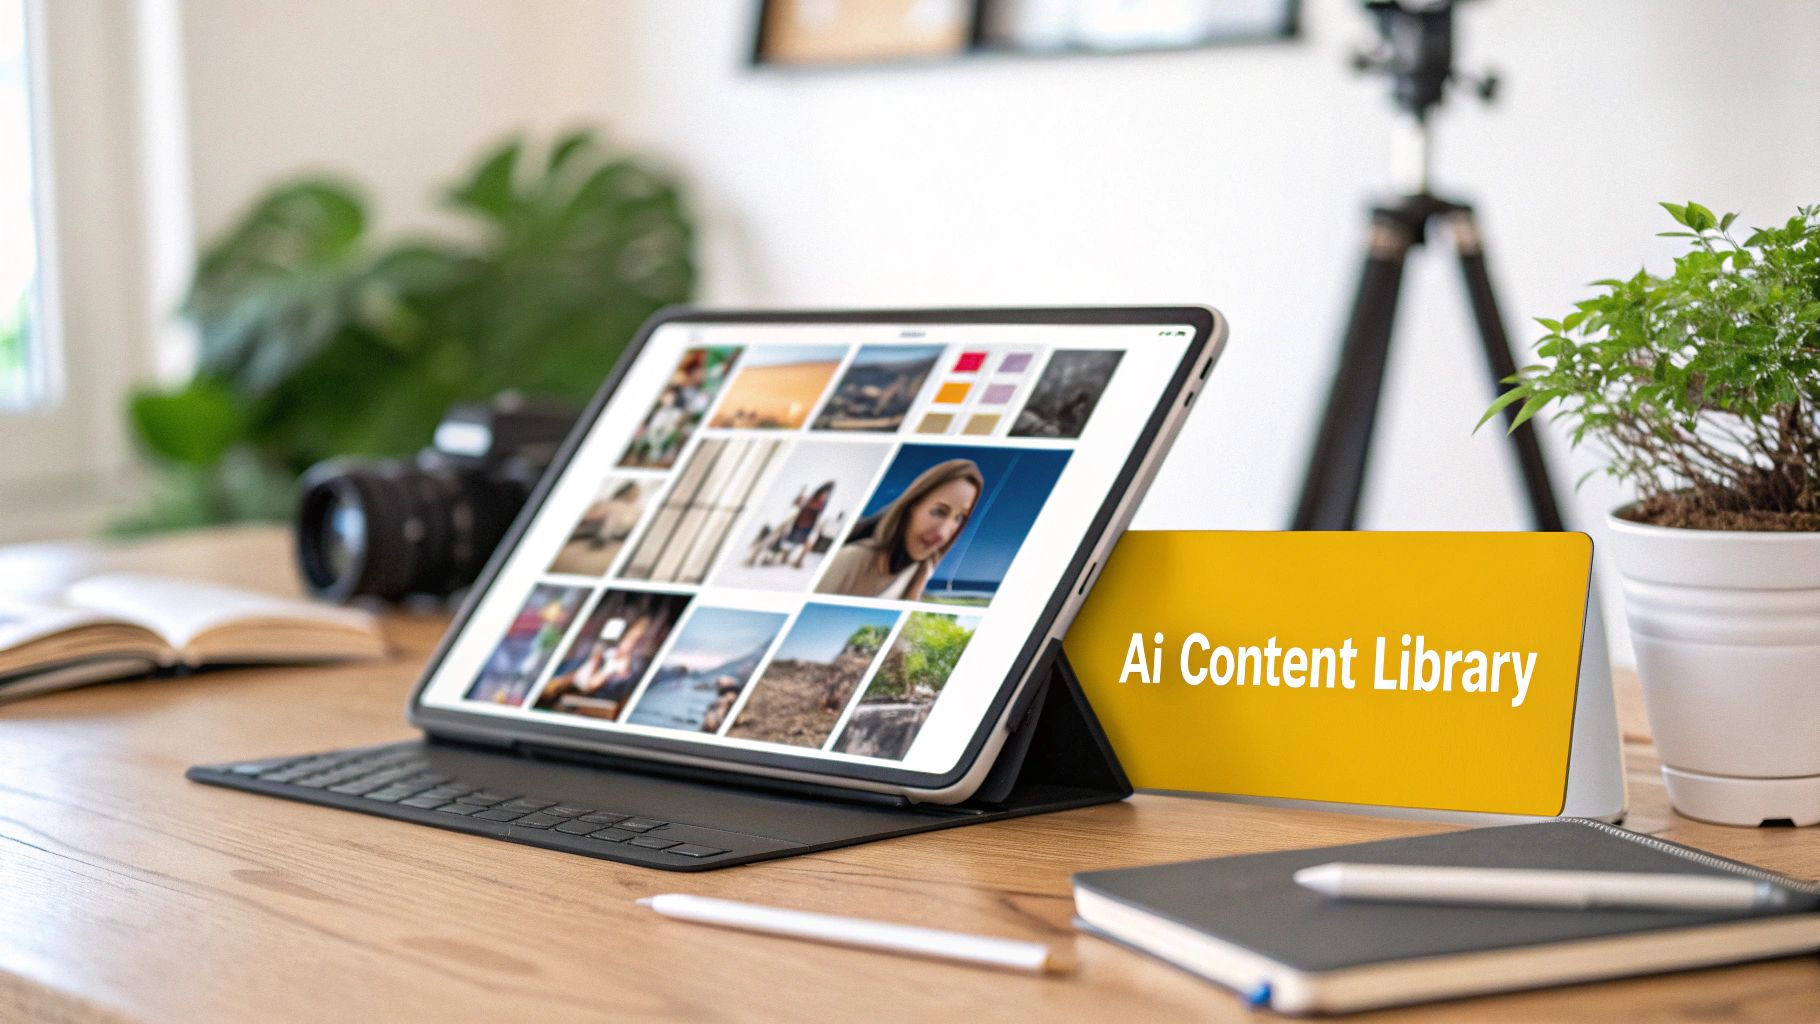
The ability to generate photos with AI is a massive shift for creators and online merchants. Instead of juggling expensive photoshoots, booking locations, and hiring models, you can now churn out an endless stream of studio-quality visuals right from your desk. This isn’t just about making a cool avatar; it's a serious business tool.
Tools like PhotoMaxi are leading the charge here. They let you train a consistent digital version of a person from just one reference image. This trained model essentially becomes your "digital twin," ready to be dropped into any setting, pose, or style you can dream up with a simple text prompt. The output is a full library of unique, high-quality images that all share a consistent look and feel—something that’s absolutely crucial for building a strong brand identity.
Why This Matters for Creators and Brands
For content creators, this is the end of the content treadmill. You can literally batch-create enough visuals for a month of Instagram, TikTok, and blog posts in a single afternoon. It gives you the freedom to experiment with different aesthetics, test out new campaign ideas, and keep your online presence fresh without hitting burnout.
Ecommerce brands, especially those on Shopify, stand to gain a lot, too. AI photo generation cracks open new ways to visualize products. Imagine showcasing apparel on the same consistent model in hundreds of different environments, or creating lifestyle shots that speak directly to niche customer segments. It's a game-changer.
Here’s a quick rundown of the main advantages:
- Massive Cost Savings: Forget about paying for photographers, studio rentals, and gear. A recent analysis found that AI can slash content creation costs by up to 85%.
- Unmatched Speed and Efficiency: What used to take weeks of planning and execution can now be done in a few hours.
- Creative Freedom: You can explore visual concepts that would be totally impractical or wildly expensive in real life, from exotic locales to fantasy scenes.
- Brand Consistency: This solves one of the biggest headaches of other AI tools by keeping your character's likeness reliable across every single image.
This approach shifts your role from just being a content creator to becoming a creative director. You're no longer boxed in by logistics; the only limit is your own imagination. You get to build a visual brand that's both professional and infinitely scalable.
In this guide, I'll give you the practical, actionable steps to take full control of your visual content pipeline. It's time to leave the old hassles of content creation behind. You’re about to learn how to generate professional photos with AI that actually drive engagement and sales.
Getting Your Source Image Ready for the AI
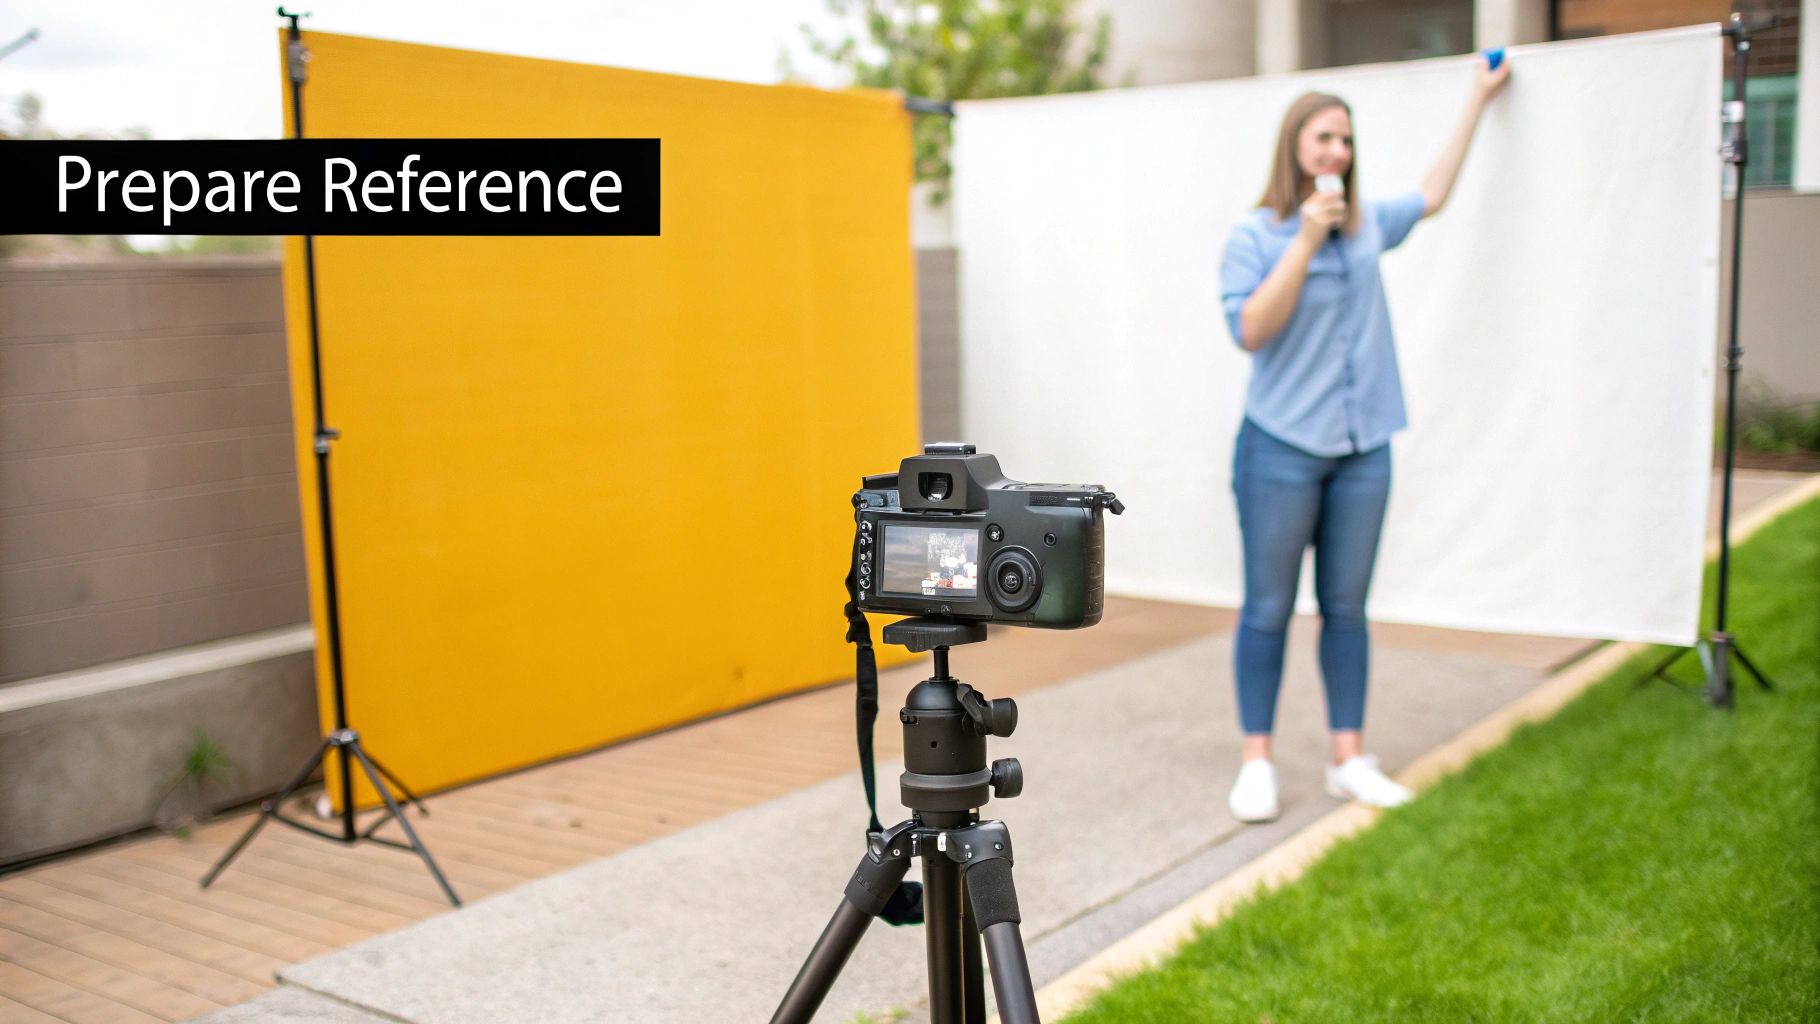
The secret to incredible AI-generated photos isn't just about fancy prompts—it’s about the quality of your starting image. Everything that follows depends on the single reference photo you give the AI. Think of it as a blueprint: the clearer and more detailed that blueprint is, the more lifelike and consistent your final “digital twin” will be.
It’s a common mistake to grab a professional studio portrait, but that can actually backfire. Why? Because dramatic lighting, heavy makeup, or artistic filters can confuse the AI. It might end up learning the style of the photo instead of your actual facial features, which leads to strange and inconsistent results.
Believe it or not, a simple, well-lit selfie often works much better. The whole point is to feed the AI the cleanest, most neutral data you can. This lets it capture your true likeness without any creative noise getting in the way. Don't skip this step—it’s crucial for getting top-notch results.
How to Choose the Perfect Reference Photo
Picking the right image is a strategic move. You're looking for a photo that gives the AI a perfect read on your facial structure, skin tone, and unique features. As you look through your camera roll, be on the lookout for anything that might trip up the model.
Here’s a checklist for what makes a great reference photo:
- High Resolution: Your image needs to be at least 1024x1024 pixels. Anything blurry or pixelated will give you a muddy, inaccurate model that can't handle fine details like eye color or hair texture.
- Clear, Even Lighting: Soft, natural light is your best friend. Steer clear of harsh shadows, strong backlighting, or dappled light that hides parts of your face. You want to be front-lit and evenly illuminated.
- Direct Gaze: Make sure your eyes are open, visible, and looking right at the camera. Sunglasses, hair falling over your eyes, or looking off to the side will prevent the AI from learning your features correctly.
- Neutral Background: A simple, plain background forces the AI to focus only on you. A busy scene with other people or distracting patterns can sneak unwanted elements into your results.
Pro Tip: Try the "squint test." Squint at your photo from a distance. Can you still clearly make out your main facial features? If they don't get lost in shadows or blur, you've probably got a winner.
Training Your First AI Model
Got the perfect photo? Great. Now it’s time to head over to a platform like PhotoMaxi and get your first model trained. The initial setup is usually pretty quick and designed to get you from upload to your first generation in no time.
Typically, you'll just need to create an account and find the model training section. This is where you'll upload your chosen reference image. The platform will take a few minutes to analyze the photo as it maps out all your facial data.
Once that’s done, you're ready to start prompting. Platforms built for this, like PhotoMaxi, give you a straightforward dashboard to manage your trained models, look through past creations, and tweak settings. Getting comfortable with this interface is the next step.
And if you’re working with products instead of people, many of the same rules about lighting and clarity still apply. For more on that, check out our guide on how to take better product photos. A solid foundation here will make every AI generation that much better.
Mastering the Art of the Prompt: Your Creative Director's Guide
Once your AI model is trained, you get to step into the fun part: being the creative director. This is where your vision truly takes shape. Generating incredible AI photos isn't about being a coder; it’s about learning to communicate your ideas clearly to the machine. Think of a prompt as your creative brief—the more specific and detailed you are, the closer the final image will be to what you imagined.
This skill, which everyone is calling prompt engineering, is really the heart of getting amazing results from any AI image generator. A lazy instruction like "a photo of me in a cafe" is going to give you something bland and forgettable. But a well-crafted prompt? That can control everything from the light hitting your face to the exact type of coffee cup on the table.
And these skills are becoming seriously valuable. The AI image generation market is exploding—it was valued at $349.6 million in 2023 and is on track to hit $1.08 billion by 2030. That growth is fueled by people just like you, creators and merchants who are realizing they can create stunning visuals without the time and expense of a traditional photoshoot.
Breaking Down a Killer Prompt
A truly effective prompt isn't just one long, rambling sentence. It’s built from a few key components that work together to give the AI precise instructions. When you learn to break your ideas down into these core elements, you gain an incredible amount of control over the final picture.
Here are the essential building blocks I always use:
- Subject and Pose: Be specific about who is in the photo and what they're doing. Instead of "a woman standing," try "a woman leaning against a weathered brick wall, smiling softly at something off-camera." Action and detail are your friends.
- Location and Environment: Paint a picture of the setting. "A minimalist coffee shop with huge floor-to-ceiling windows and light oak tables" will produce something far more compelling than just "a coffee shop."
- Lighting Style: Lighting is everything when it comes to mood. Use evocative terms like "golden hour sunlight streaming through a window," "dramatic studio rim lighting," or "soft, overcast morning light."
- Composition and Camera Angle: You're the photographer here, so direct the camera. Tell the AI if you want a "tight close-up portrait," a "dynamic full-body shot," or a "low-angle shot looking up" to create a sense of scale.
- Style and Mood: Define the overall vibe. Is it "vibrant and energetic," "moody and cinematic," or "clean and professional"? These keywords guide the AI’s artistic interpretation.
By layering these elements, you elevate your request from a simple wish to a detailed set of instructions. This is the secret to generating AI photos that look intentional and professionally produced, not just randomly spat out by an algorithm.
Grab-and-Go Prompt Templates for Any Scenario
To get you started, here are a couple of versatile templates I've had a lot of success with. Think of them as starting points that you can tear apart and customize with your own details.
A great way to see these in action is to play around with a high-quality photorealistic AI image generator and see how different keywords change the outcome.
For an Instagram Lifestyle Shot:
For social media, you want something that feels authentic and engaging. This template focuses on action and environment to create that relatable vibe.
- Template:
(Subject description and action), in a (detailed location), (specific lighting condition), (camera shot type), (mood or aesthetic). - Example: "Photo of a woman with blonde hair laughing while holding a coffee, in a bustling Parisian street cafe with outdoor seating, soft morning sunlight, medium shot, candid and joyful."
For a Shopify Product Photo:
When it comes to e-commerce, clarity and professionalism are king. This template is all about creating a clean, high-end look that puts your product in the best possible light.
- Template:
Product shot of (your product) on a model, (studio setup description), (lighting style), minimalist background, high detail, 4K. - Example: "Product shot of a navy blue cashmere sweater worn by a model, in a professional photo studio, with soft three-point studio lighting, on a seamless light gray background, clean and minimalist."
Effective Prompting for Different Platforms
Different platforms have different visual languages. A moody, cinematic shot might kill it on Instagram, but a clean, bright product photo is what you need for an e-commerce site. Thinking about where the image will live before you write the prompt is a pro move. It helps you tailor the output for maximum impact right from the start.
Here’s a quick-glance table to help you adapt your prompts based on the platform and your goal.
| Platform | Goal | Core Prompt Elements | Example Keyword Modifiers |
|---|---|---|---|
| Engagement, Lifestyle | Action, Emotion, Location | candid, golden hour, street style, joyful |
|
| Inspiration, DIY, Aesthetic | Composition, Color Palette | flat lay, aesthetic, minimalist, pastel colors |
|
| Shopify | Sales, Product Clarity | Product Detail, Cleanliness | product shot, studio lighting, white background, 4K |
| Professionalism, Trust | Pose, Expression, Setting | corporate headshot, confident, office background, soft light |
Thinking this way saves a ton of time in post-production. You're essentially pre-editing the image with your words, ensuring the AI delivers something that's already 90% of the way to being perfect for its intended channel.
Fine-Tuning with Advanced Keywords
Once you've got the hang of the basic structure, you can start sprinkling in more advanced keywords for even finer control. These modifiers are like having a full set of virtual camera gear at your fingertips.
| Modifier Category | Example Keywords | What It Controls |
|---|---|---|
| Camera Lens | 35mm lens, 85mm portrait lens, telephoto lens |
This controls the perspective and depth of field. An 85mm lens is classic for portraits with blurry backgrounds, while a 35mm is great for wider, more environmental shots. |
| Film Stock | Kodak Portra 400, Fuji Velvia, cinematic film grain |
Want a specific vibe? Mimic the color, grain, and contrast of classic film to give your images a nostalgic or cinematic feel. |
| Fidelity/Realism | photorealistic, hyper-detailed, sharp focus, 8K |
These are your commands for quality. Use them to tell the AI you want the highest possible level of detail and realism it can muster. |
| Negative Prompts | --no blurry, text, watermark |
Just as important as what you want is what you don't want. Negative prompts help you clean up common AI errors like weird text, extra limbs, or blurry faces. |
Honestly, playing with these advanced terms is where the real magic happens. For example, just adding 85mm portrait lens to a prompt will instantly give you that beautiful, creamy, out-of-focus background (called bokeh) that makes your subject pop. It’s a trick pro photographers use all the time. Experiment with these, find the ones that work for you, and start developing your own unique AI-powered style.
Scaling Content Production with Batch Workflows
Once you’ve nailed the perfect prompt, you can unlock the real power of AI photography. It’s time to stop thinking about single, one-off images and start operating like a full-scale content studio. This is where batch workflows completely change the game for social media managers, e-commerce brands, and anyone who needs a steady stream of high-quality visuals.
Instead of spending hours tweaking one photo at a time, you can set up a system to knock out an entire month's worth of content in one session. This isn’t just about speed—it’s about building a cohesive, on-brand visual story across dozens of images. Imagine populating your entire Instagram grid or generating multiple product shots for your Shopify store, all from one core prompt with a few smart variations.
Designing a Scalable Workflow
The secret to effective batch creation is a repeatable system. You’ll want to start by creating a "master prompt" that nails your core brand aesthetic—think preferred lighting, color palette, and overall mood. From there, you can spin up variations for specific campaigns or platforms without reinventing the wheel.
A fashion brand’s master prompt, for instance, might be something like: "soft, natural morning light, minimalist background, professional studio quality." For a new campaign, they could just add modifiers like "vibrant floral background for spring collection" or "posing with a leather handbag" to generate a whole new set of on-brand images.
This simple flowchart breaks down the creative process, which is the foundation for any good prompt, whether you're making one image or one hundred.
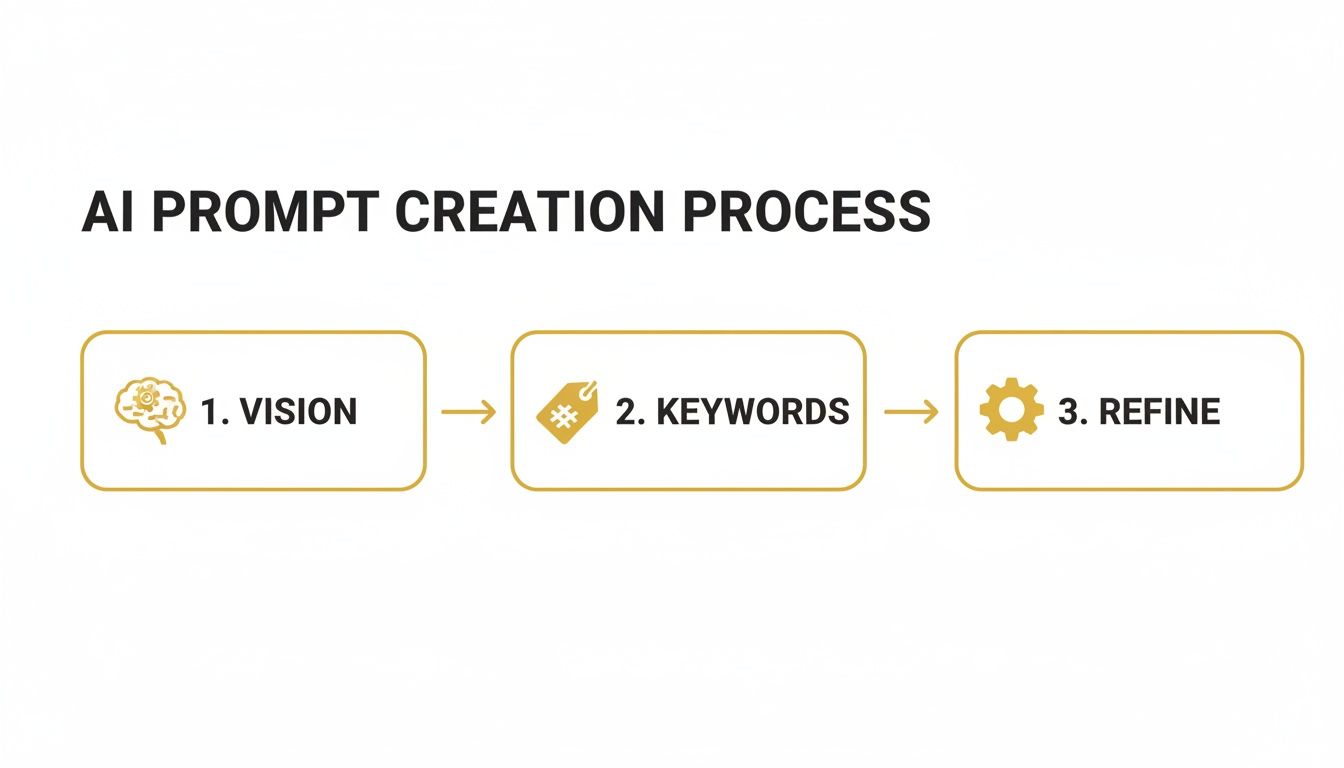
It all comes down to a clear vision, the right keywords, and a bit of refinement. Once you get that flow down, scaling up becomes second nature.
Tips for Maintaining Consistency at Scale
One of the biggest headaches when generating a lot of AI photos is keeping your character and brand consistent. It’s a common problem that can make your content library look messy and unprofessional. Luckily, modern platforms have tools built to solve this exact issue.
Here’s my advice for keeping your visuals locked in:
- Lock Your Character Model: Many tools, including our own at PhotoMaxi, have a "character lock" or high-fidelity setting. This feature is a lifesaver, ensuring your AI model’s face and likeness stay consistent across every single image, no matter the pose or background.
- Use Prompt Templates: Don't start from a blank slate every time. Save your best prompts as templates. It’s a huge time-saver and guarantees your core aesthetic elements are always there.
- Organize Your Renders: Get your digital house in order. A simple folder structure can make all the difference. I usually organize by campaign (e.g., "Summer Sale 2024") and then by platform ("Instagram Stories," "Product Pages").
The goal is to get your workflow so smooth that you can stop worrying about the technical stuff and focus on creative direction. You’ll spend less time fighting with the tool and more time dreaming up compelling visual ideas.
AI-generated imagery has exploded, especially in social media and marketing. Millions of new AI images are created daily. In fact, as of 2024, 20% of Americans say they’ve used AI to create images or videos, which just shows how common this has become.
From Static Images to Dynamic Content
Once you have a streamlined image workflow, the next logical step is to bring that same efficiency to other types of media. A consistent AI model can be the face of your brand not just in photos, but in your videos, too. By generating a series of images with slight changes in pose or expression, you can easily create stop-motion clips or simple animations.
This is a fantastic way to create engaging short-form video for platforms like TikTok or Instagram Reels. It lets you carry that same high-quality, on-brand look from your photos right into your video marketing. For those ready to jump in, our guide on how to create AI videos builds directly on the skills we've covered here.
Refining and Monetizing Your AI Photos
Getting a great image out of the generator is a fantastic first step, but it’s rarely the last one. The real craft comes in during the refinement stage, where you polish that raw output into a professional, market-ready asset. This is how you go from having a cool picture to having a genuine revenue stream.
Don't skip this part. Simple post-generation tweaks can elevate an image from "interesting" to "commercially viable." Many platforms now have built-in tools that do the heavy lifting, so you don't need to be a Photoshop guru. Polishing your work is what closes the gap between a fun experiment and a product someone will pay for.
Essential Post-Generation Touch-Ups
Before you even think about selling or posting, a few refinements are non-negotiable. These techniques fix the small flaws and boost the overall quality, ensuring your images look professional whether they're destined for a high-res print or an Instagram feed.
Upscaling for Maximum Quality: A standard AI render might look sharp on your monitor, but it probably won’t be big enough for a website banner or a print. I always use a built-in upscaler to increase the resolution by 2x or 4x without getting that blurry, pixelated look. It just makes everything crisper.
Relighting to Match Your Brand: The initial lighting might be close, but is it perfect for your brand's aesthetic? Relighting tools are your best friend here. You can change the light's direction, make it harsher or softer, and even alter its color. It's how you can turn a flatly lit shot into something dramatic and moody, or soften shadows for a more inviting vibe.
Minor Edits and Inpainting: Did the AI add a weird floating object in the background or mess up the fingers on a hand? It happens. Instead of starting over, use an inpainting tool. Just select the problem area, tell the AI what you want there instead, and let it regenerate only that tiny spot. It's a lifesaver.
The goal in the refinement stage is to make the AI's work invisible. A successful edit doesn't look edited—it just looks like a perfectly executed photograph, ready for whatever commercial use you have in mind.
Understanding Licensing and Commercial Use
Okay, this is where you need to pay close attention. Before you try to make a dime from an AI-generated image, you absolutely must understand the rules of the road. Not every AI image generator gives you the right to sell what you create with it.
Always, always check the platform's terms of service. Platforms like PhotoMaxi, for instance, typically grant you full commercial usage rights with their paid plans. This license is your legal green light to use your creations in ads, on products, or for marketing. Without it, you're risking legal trouble. Make sure you own the commercial rights before you move forward.
Practical Ways to Monetize Your AI Creations
Once your photos are polished and you've confirmed you have the legal right to use them, it's time to put them to work. The opportunities here are huge and growing every day. Businesses are desperate for faster, more affordable ways to get high-quality visuals, and AI is stepping in to fill that need.
The impact is already massive in advertising and e-commerce. In 2023, software made up 79% of the AI image generator market, and advertising is expected to be a major driver of future growth, as detailed in this Grand View Research report.
Here are a few proven ways I've seen creators and merchants turn AI photos into real income:
Build an E-commerce Product Catalog
If you're a Shopify merchant, this is a game-changer. You can generate an entire product catalog with your consistent AI model wearing different outfits or using your products in all sorts of situations.
- Virtual Try-Ons: Show off clothing, jewelry, or makeup on your model without the time and expense of a real photoshoot.
- Lifestyle Shots: Put your product into the world. Imagine your backpack on a mountain trail or your coffee mug in a cozy cabin. This helps customers see the product in their own lives.
Create Sponsored Content for Social Media
As an influencer, you can create entire campaigns for brands. Let's say a brand wants to promote a new activewear line. You can generate a whole series of images of your AI self hiking, doing yoga, and running in beautiful locations—all while decked out in the brand's gear.
Sell Digital Products and Stock Photography
The market for unique digital assets is booming. You can package your best AI-generated images and sell them.
- Stock Photo Bundles: I've seen a lot of success with themed collections, like "Minimalist Office" or "Autumn Lifestyle," sold on creative marketplaces.
- Digital Art Prints: Take your most artistic creations, upscale them to a super high resolution, and sell them as downloadable prints on sites like Etsy.
- Marketing Visuals for Small Businesses: Offer a service creating custom images for small businesses that need visuals for their website or social media but can't afford a traditional photographer.
Common Questions About Generating AI Photos
Jumping into AI-driven content creation is exciting, but it definitely brings up some questions. It’s a powerful technology, and really getting a handle on its capabilities, limits, and legal standing is crucial for using it well. This section cuts through the noise to answer the most common concerns we hear from creators and merchants.
Getting straight answers helps you move forward with confidence, making sure you’re not just creating cool images but building a content strategy that's both sustainable and compliant. Let’s get into what you really need to know.
Can I Really Get Realistic Photos from Just One Image?
You absolutely can. Modern AI platforms are built for exactly this. The secret sauce is giving the AI a high-quality reference photo so it can learn your specific features and create a consistent "digital twin." From there, you can drop that model into any scene or style you dream up in your prompt.
This isn't about making simple avatars anymore. The tech has advanced to the point where it can produce photorealistic images that maintain your likeness across hundreds or even thousands of outputs. This solves the huge consistency problem you see with generic AI tools, which often spit out faces that only have a passing resemblance to you. When you start with a well-trained model, the results can be genuinely stunning.
Is It Legal to Use These AI Photos for My Business?
Yes, as long as the platform's terms of service give you the green light. This is a big one, so don't just gloss over it. Professional-grade services, like PhotoMaxi, typically include commercial usage rights in their premium plans, which means you can legally use your creations for marketing, ads, and product listings.
Always, always review the licensing agreement of any tool you're considering. It's a cost-effective and totally legitimate way to create visuals for your brand, but you have to do your homework and confirm you have the proper permissions first.
The legal side of AI is still evolving, but the core principle is clear: if the platform grants you a commercial license for the content you generate, you're generally in the clear for business use. The golden rule? Don't assume—always verify.
How Do I Make Sure My AI Photos Look Consistent and On-Brand?
This is where professional AI photo tools really pull ahead of the pack. Nailing consistency isn't about luck; it's about a three-part strategy. Follow this, and your entire content library will feel cohesive and intentional, reinforcing your brand identity with every single post.
- Start with a Great Model: Everything hinges on this. Train a high-fidelity model using clear, well-lit reference photos. If you feed it a blurry or poorly lit image, you’ll get an inconsistent and unreliable digital lookalike. Garbage in, garbage out.
- Get Smart with Your Prompts: Create and save a few prompt templates that nail your brand's core aesthetic. Think about including keywords for your go-to style, like 'minimalist studio photography, neutral color palette, soft natural light.' Reusing these foundational prompts is the key to a cohesive look.
- Lean on the Platform's Features: Make the most of built-in tools like character consistency locks or editing sliders. These features are specifically designed to maintain facial structure and let you fine-tune colors and lighting across a whole batch of images, effectively locking in your brand's unique visual signature.
What Are the Biggest Mistakes People Make with AI Photos?
There's a bit of a learning curve with any new tool, but you can sidestep the most common frustrations by avoiding a few classic blunders. Many beginners make small mistakes that, unfortunately, have a huge impact on the final quality.
The biggest trip-ups usually fall into one of three buckets.
| Mistake Category | The Pitfall | How to Avoid It |
|---|---|---|
| Input Quality | Using a low-quality reference photo. | Always start with a high-resolution, evenly lit image with a clear view of the face. This is the #1 most important factor for getting an accurate AI model. |
| Prompt Vagueness | Writing lazy prompts like 'a cool photo.' | Get specific. Describe the location, the action, what they're wearing, the lighting, and even the camera angle. The more detail you feed the AI, the better the result. |
| Skipping Refinement | Calling it a day after the first render. | Never treat the first output as the final product. Use the platform’s upscaling, relighting, and editing tools to boost the resolution and dial in the look. A few simple clicks can turn a good image into a great one. |
By keeping these common issues in mind, you can dramatically improve the quality and consistency of your AI-generated photos. It really boils down to combining a strong foundation with specific instructions and a final layer of polish.
Ready to stop scheduling photoshoots and start building a limitless content library? With PhotoMaxi, you can turn a single image into studio-quality photos and videos for all your marketing needs. Start generating your professional AI photos today.
Related Articles


Ready to Create Amazing AI Photos?
Join thousands of creators using PhotoMaxi to generate stunning AI-powered images and videos.
Get Started Free