Your Guide to an AI Portrait Generator From Photo
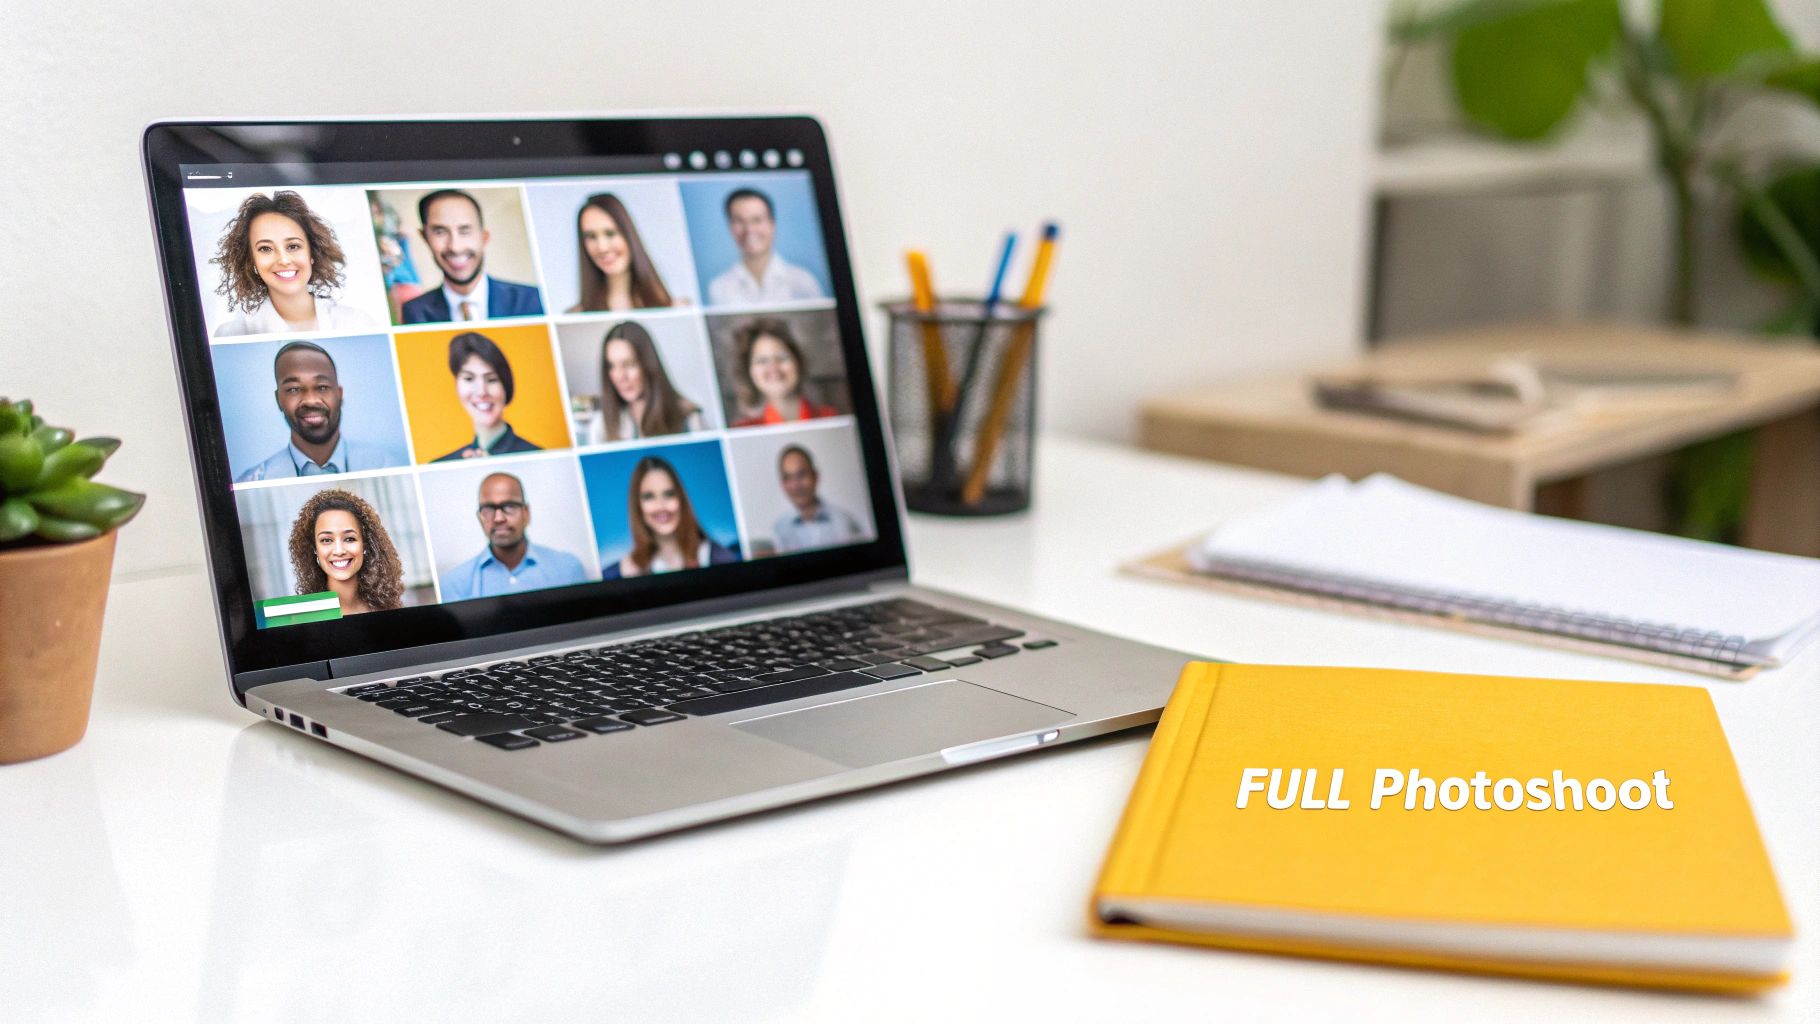
Forget the hassle and expense of traditional photoshoots. What if you could turn one good photo of yourself into a complete portfolio of professional, on-brand portraits? That’s exactly what AI portrait generators now make possible. By uploading a single, clear image, you can generate dozens of high-quality visuals in any style, pose, or location you can imagine.
This isn't just about creating a fun avatar. We're talking about generating commercially viable images that look like they were captured by a seasoned photographer. This guide will walk you through the entire process, showing you how to lock in a person's likeness, direct the style with simple text, and produce entire sets of consistent content from that one starting photo.
This technology is already making huge waves. The AI image generation market was valued at USD 9.10 billion in 2024 and is on track to explode to USD 63.29 billion by 2030, according to industry analysis from MarkNtel Advisors. It's a clear sign of how quickly brands, creators, and merchants are adopting these tools to stay ahead.
This ability to generate diverse, high-quality portraits from a single input is a game-changer. For anyone looking to generate photos with AI, these tools offer a stunningly practical and efficient way to handle all visual content needs. This is your playbook for ditching expensive photoshoots for good.
Core Features for Professional AI Portraits
To get the most out of these platforms, it's helpful to understand the key features that make professional-grade results possible. Here's a quick breakdown of what to look for.
| Feature | What It Does | Best For |
|---|---|---|
| Face Lock / Likeness Control | Ensures the AI consistently reproduces the same facial features across all generated images. | Brands and creators needing consistent headshots and marketing visuals. |
| Custom Style Prompts | Lets you define the artistic style, lighting, and mood using simple text commands. | E-commerce merchants creating themed product shots or lifestyle images. |
| Batch Generation | Creates multiple images (e.g., 20-100) from a single prompt in one go. | Social media managers and content creators needing a large volume of visuals. |
| Pose & Location Control | Allows you to specify different poses and background settings for variety. | Anyone needing a full portfolio of images for websites, profiles, and ads. |
These features work together to give you the control of a traditional photoshoot without ever leaving your desk.
Key Takeaway: The real magic here isn't just about making one cool image. It's about producing an entire, cohesive set of visuals where the face remains consistent. This consistency is absolutely critical for building a recognizable brand, whether for yourself or your company—something that used to be incredibly difficult and expensive to pull off.
Choosing a Source Photo for Perfect Likeness
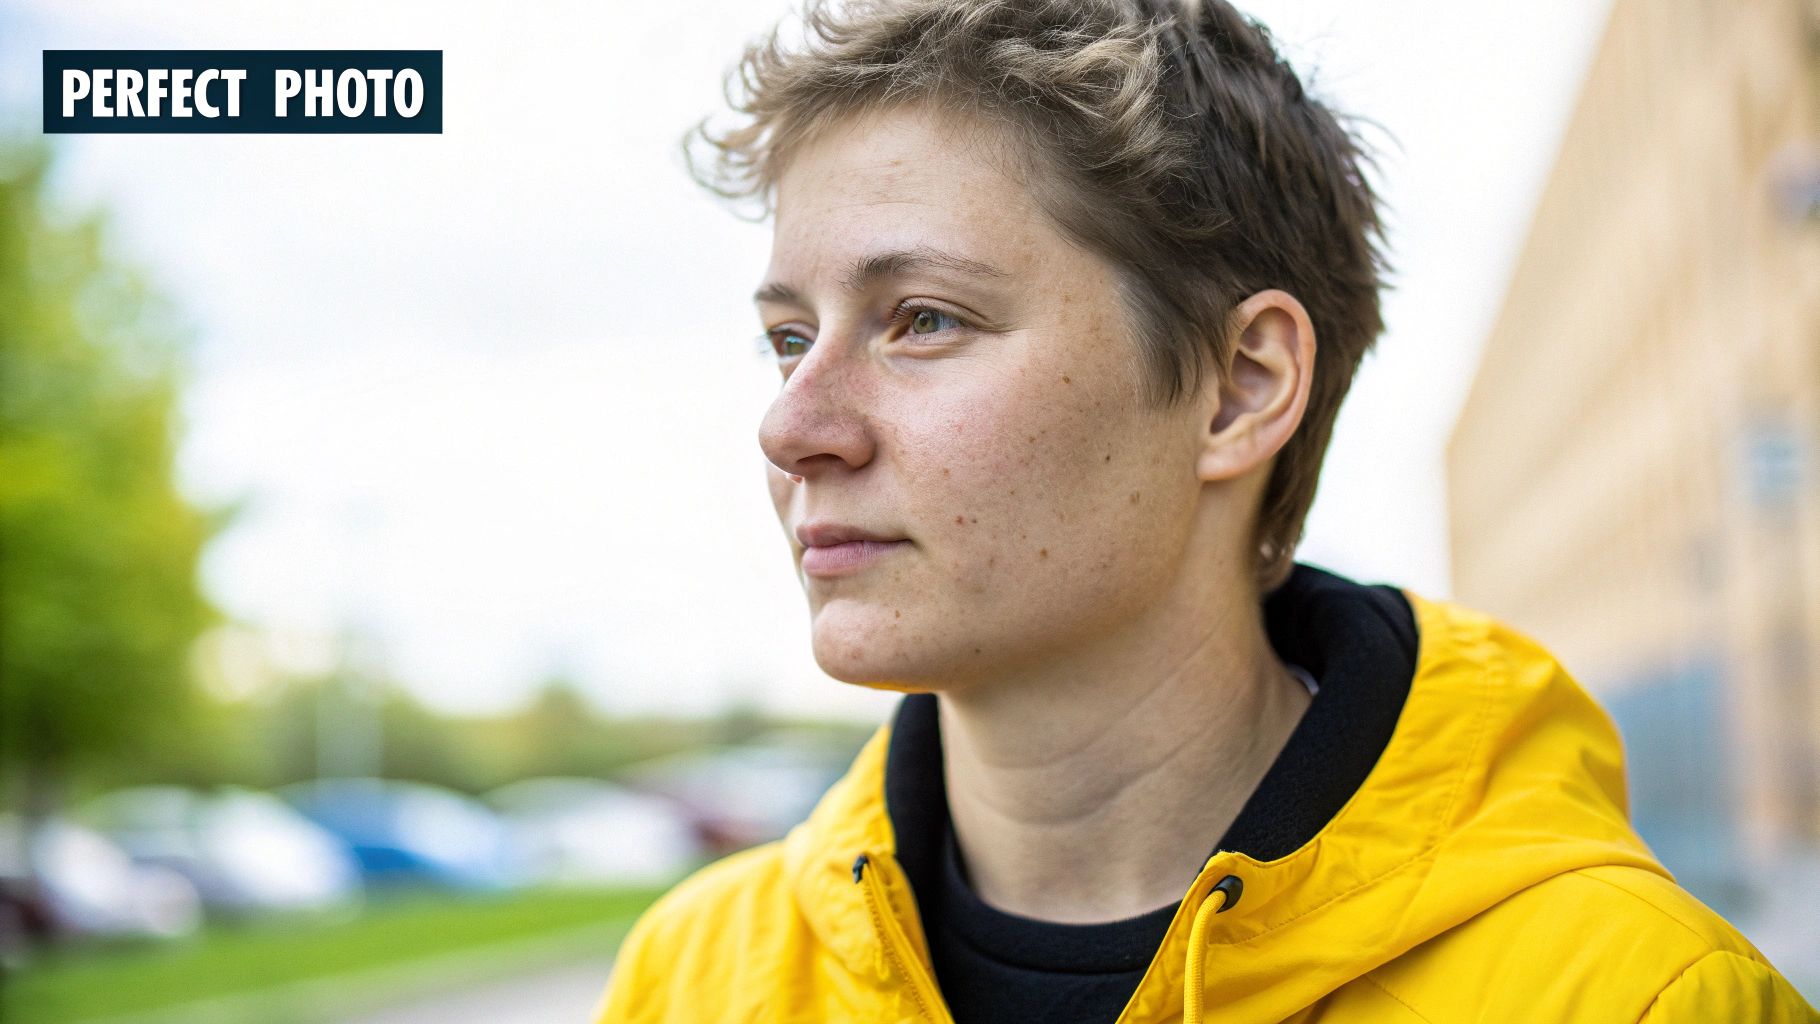
The real secret to a jaw-dropping AI portrait has nothing to do with a magic prompt or some hidden setting. It all comes down to the quality of the single photo you start with.
Think of that source image as the AI's entire blueprint for a person's face. If that blueprint is blurry, poorly lit, or missing critical details, you can guess what the final construction will look like. Your job is to give the AI the clearest, most detailed information possible so it can nail the likeness every single time.
An ai portrait generator from photo scrutinizes every last pixel. Little things you might not even notice—like a harsh shadow under the nose or a slightly odd camera angle—can throw the whole thing off and lead to wonky, inconsistent results. This is why getting the foundation right isn't just a suggestion; it's essential for creating anything that looks professional.
Core Photo Requirements for AI
For the best shot at success, your source photo just needs to hit a few key marks. Following these guidelines directly impacts how well the AI learns and recreates a person's unique features.
- Lighting is Everything: Go for soft, even lighting that flatters the face without casting deep, distracting shadows. Diffused natural light from a window is usually your best bet. Stay away from harsh, direct sunlight that can wash out details.
- A Clear View of the Face: The subject should be looking straight ahead or in a gentle three-quarter turn. Make sure their face is the star of the show, without hair, hands, or sunglasses getting in the way.
- High Resolution Matters: Always use a sharp, high-resolution photo. The more pixels the AI has to analyze, the better it can grasp the subtle things like skin texture, eye color, and freckles.
Common Pitfalls to Avoid
I've seen a handful of common photo mistakes completely derail an AI model time and time again. If you can steer clear of these, you’ll save yourself a ton of frustration and get much more realistic portraits. For a more in-depth look at this, our guide on AI-generated headshots has even more examples.
Here’s a quick rundown of what to keep out of your source photo:
- Sunglasses or Heavy Glasses: The AI needs an unobstructed view of the eyes to get the likeness right.
- Hats or Head Coverings: Anything that hides the hairline or the shape of the forehead is a recipe for strange-looking hair and proportions.
- Extreme Expressions: A neutral expression or a soft, natural smile works best. It gives the AI a versatile baseline to create other moods from later.
- Group Shots or Busy Backgrounds: Always use a solo photo with a simple background. This tells the AI exactly who to focus on and prevents it from getting confused by other people or objects.
Pro Tip: Honestly, the best source photo is often just a simple, well-lit headshot you can take with any modern smartphone. You don't need a fancy camera. You just need to give the AI clean, high-quality data to work with. Get this first step right, and everything else becomes so much easier.
Playing Art Director: Writing Prompts for a Perfect Photoshoot
With your perfect source photo ready, it's time to step into the art director's chair. This is where the real fun begins. Your creativity, channeled through a well-written prompt, is the single most powerful tool you have for shaping the final image. A great prompt is what separates a generic, forgettable AI picture from a compelling portrait that actually tells a story and feels true to your brand.
Don't think of this as coding or some complex technical task. It's much more like giving clear instructions to a world-class photographer. You wouldn't just tell them to "take a picture," right? You’d talk about the mood, the setting, the lighting, and what your subject should be doing. An ai portrait generator from photo is no different; it's just translating your words into visual reality.
The Anatomy of a Powerful Prompt
Every prompt I've seen that produces amazing results is built from a few key ingredients. When you learn to combine these building blocks, you gain incredible control over the final scene. The best ones almost always nail down a clear subject, a specific action or pose, and a defined style.
For example, instead of just "portrait of a person," try something like: "A CEO in a modern office with city views, soft morning light." See the difference? That simple sentence gives the AI context (CEO), a location (modern office), background details (city views), and specific lighting (soft morning light). It’s so much richer.
Pro Tip: The secret is to be specific without boxing the AI in completely. Start with your main idea, then layer on the details—the setting, the mood, the lighting. Think of it as painting a picture with words. The more precise you are, the closer the AI gets to what's in your head.
Prompt Formulas for Different Use Cases
Of course, the structure of your prompt will shift depending on what you need the image for. An influencer creating lifestyle content needs a totally different vibe than an e-commerce brand shooting product photos.
If you're looking for more inspiration, we've put together a huge library of AI image prompt examples that you can pull from.
The way you structure your prompt really depends on the job at hand. Here’s a quick comparison to show you what I mean.
Prompt Formulas for Different Use Cases
| Use Case | Example Prompt Structure | Key Elements |
|---|---|---|
| Corporate Headshot | [Role] + [Setting] + [Lighting] + [Action] | A friendly software engineer in a bright co-working space, natural window lighting, looking at the camera. |
| E-commerce Product Shot | [Action] + [Product] + [Environment] + [Style] | Wearing a sustainable cotton t-shirt, in a minimalist studio with a beige background, clean commercial photography. |
| Social Media Lifestyle | [Activity] + [Location] + [Mood] + [Style] | Solo traveler hiking a mountain at sunrise, cinematic 35mm film still, warm and adventurous mood. |
Once you get the hang of this, you can create a "master prompt" that defines your core look. From there, you just swap out one or two elements—like the outfit or location—to generate a whole campaign's worth of images that feel varied yet perfectly cohesive. Mastering this simple framework is really the key to getting the most out of any AI portrait generator.
Achieving Consistency Across Multiple Images
Getting one amazing AI portrait is a solid win. But what if you need a whole series of photos for a campaign or a product line where the person looks exactly the same in every shot? This is where many creators hit a wall. An AI portrait generator from photo can feel a bit like a slot machine at first, but with a smart workflow, you can take control and get predictable, consistent results.
The secret is to stop thinking in terms of one-off images and start thinking like a director running a photoshoot. You're not starting from scratch every time. Instead, you'll craft a single "master prompt" that nails down the core look and feel you're after. From there, you just tweak the little details—the pose, the outfit, the background—to build out your entire image set.
This methodical approach is how you build a cohesive brand look, whether it's for an Instagram grid or an entire e-commerce catalog.
Locking in Likeness with Seeds and Settings
If you want the same face to appear across dozens of images, you have to dig into the more technical settings. The single most powerful tool for this is the seed number. A seed is just a number that kicks off the AI's randomization process. If you use the same prompt and the same seed, you'll get a nearly identical image every single time.
Think of it as a starting point for a maze. The same seed always starts you at the same entrance.
Once you find a seed that produces a face you absolutely love, lock it in. That seed becomes your anchor. Now you can change other parts of the prompt—the environment, the clothing, the lighting—and the AI will keep the facial structure consistent while generating new scenes around your subject.
The other dial you need to watch is the likeness or fidelity control. Most solid AI platforms, including PhotoMaxi, give you a way to tell the AI how strictly it needs to stick to the original photo's face. Pushing this setting higher forces consistency, but be aware that it can sometimes limit the AI’s creative freedom for more artistic styles.
A Practical Batch Creation Workflow
With those two controls in your back pocket, you can set up a seriously efficient workflow for generating images in bulk. This is a massive time-saver for e-commerce brands, a sector that's been jumping on AI in a big way.
A great prompt usually has three core parts: the subject, what they're doing, and the overall style. This simple structure is your foundation.

This basic anatomy is what you'll use to build that master prompt you can then riff on for all your variations.
It’s no surprise that the retail and e-commerce world is leading the charge here. Adoption rates have already hit 36%, with businesses using AI for everything from generating product photos to creating personalized marketing materials. For a small merchant, being able to produce a consistent set of model photos without the cost of a photographer is huge. You can find more data on AI adoption trends over at Accio.com.
Pro Tip: Don't try to generate 50 images at once. Start by perfecting just one. Fiddle with your master prompt, try different seeds, and adjust the likeness settings until you get a result that's spot-on. Save that "golden" combination of prompt and seed. Now, you can run your own virtual photoshoot by changing one variable at a time, like swapping "wearing a blue t-shirt" for "wearing a red jacket."
Final Touches and Commercial Use
So, you've nailed the generation process and have a fantastic AI portrait sitting on your screen. That’s a huge win, but we're not quite at the finish line yet. Think of the raw AI output as a great first draft; the final polish in post-processing is what turns it into a professional, commercial-ready asset. This is where we refine the details, sharpen the quality, and make sure everything is legally buttoned up for business.
These small, final tweaks can have a massive impact. Many AI platforms, including PhotoMaxi, actually have these tools built right in, which saves you the headache of jumping over to more complex software. A little bit of polishing ensures your portraits are truly ready for that big marketing campaign, a product showcase, or your brand's social media feed.
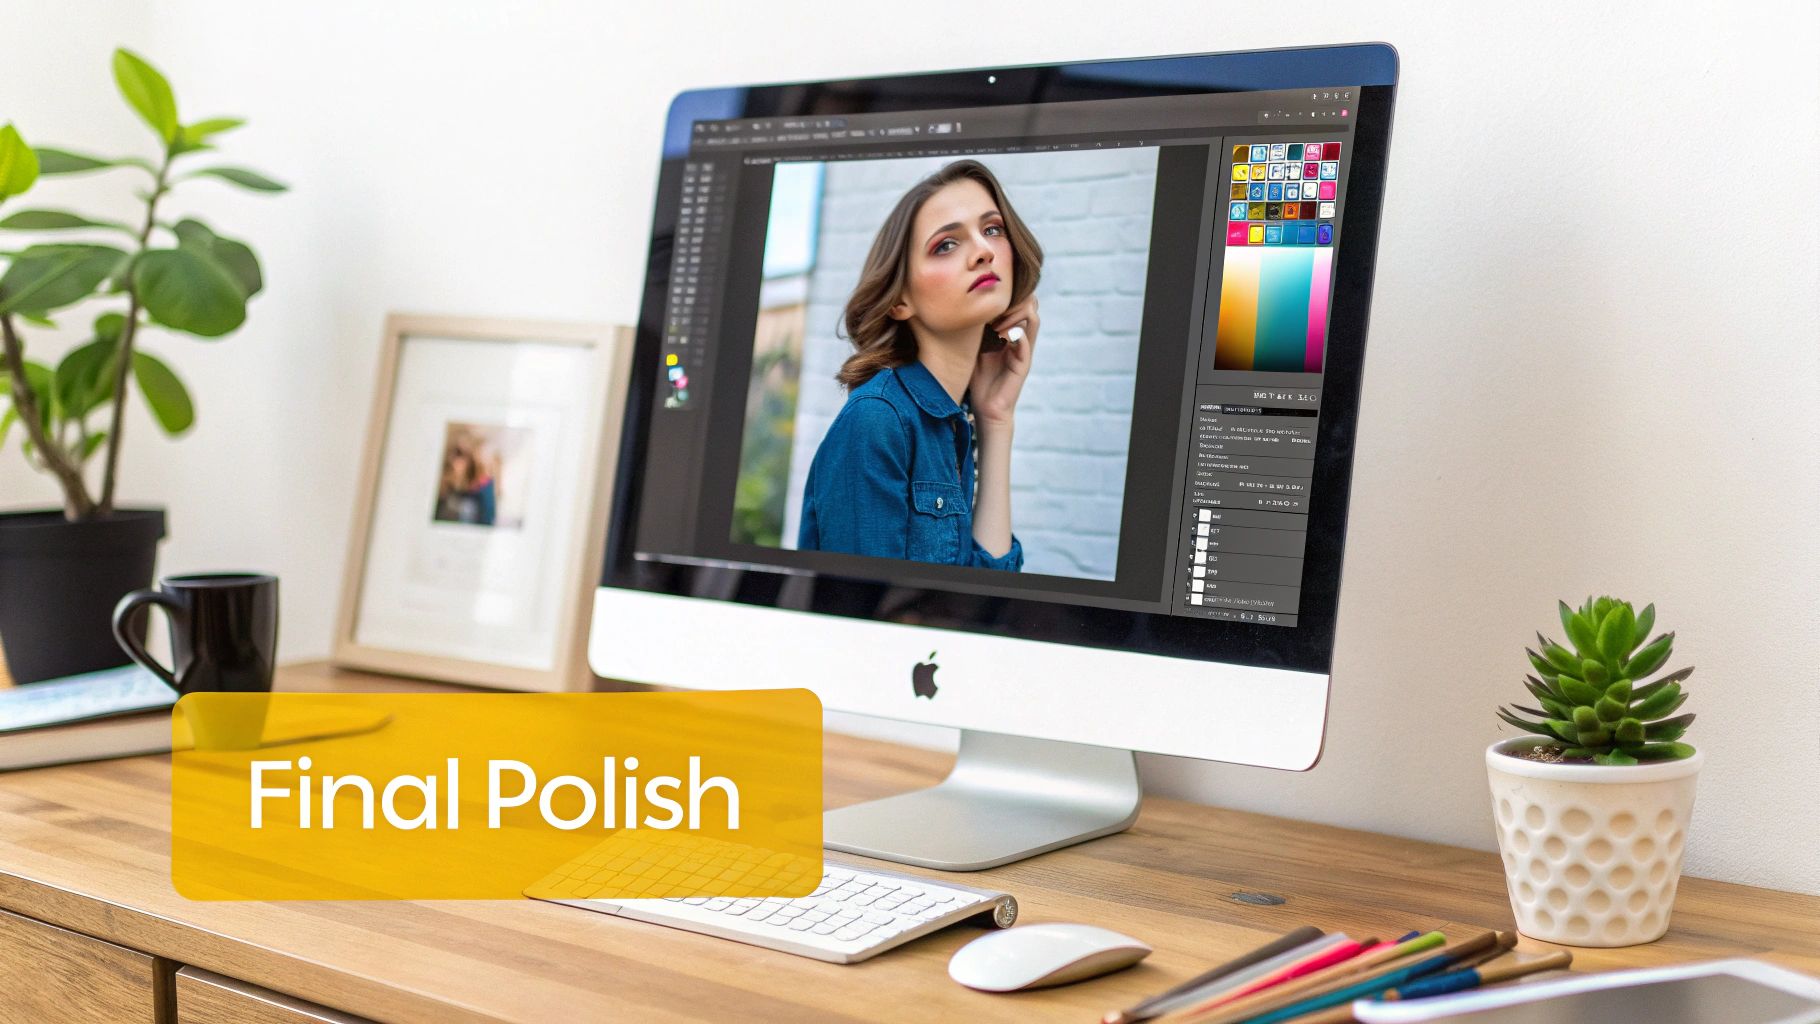
Upscaling and Relighting Your Portraits
Once you have a portrait you really like, two of the most powerful tools at your disposal are upscaling and relighting. They help you clear the final technical and creative hurdles before your image is ready to go public.
Upscaling for Maximum Clarity: AI-generated images often come out at a resolution that's fine for a quick social post but won't hold up for print or large displays. Upscaling is the magic that intelligently increases the image size, sharpening those fine details and getting rid of any blurriness or pixelation. This is critical if you're planning to use the portrait on merchandise, a physical banner, or a full-screen website hero image.
Relighting to Set the Mood: Maybe the lighting in your generated image is almost perfect but doesn’t quite match your brand's vibe. Relighting tools let you move the light source, adjust its intensity, and even change its color after the fact. It’s an amazing feature for creating a consistent look across a whole campaign or for nudging the mood to feel more dramatic, warm, or upbeat.
Understanding Commercial Use and Licensing
This last part is probably the most important for any creator or business wanting to make money from their AI art. Just because you created an image doesn't automatically mean you have the legal right to use it for commercial purposes, like in ads, on products you sell, or in sponsored content.
Key Insight: Whether you can use an AI portrait for commercial work depends entirely on the platform's terms of service and which subscription you have. Free versions and trial tiers almost never include commercial rights—those are reserved for paid users.
The generative AI space is booming, with projections showing the market could grow from USD 53.7 billion in 2025 to a staggering USD 988 billion by 2035. If you want to get a sense of just how massive this trend is, check out the market analysis from GM Insights. For anyone using tools like PhotoMaxi, this growth highlights just how crucial it is to get the legal side right.
Before you ever use an AI portrait for your business, do yourself a favor and double-check that your plan includes a full commercial license. This simple step ensures you own the rights to your creations and can use them across all your monetized channels without worrying about legal trouble later. It's the small check that protects both your brand and your bottom line.
Common Questions About AI Portrait Generation
As you start playing with an AI portrait generator from photo, you're bound to have a few questions. This tech is powerful, but it can feel a little finicky at first. The good news is that most of the common roadblocks have pretty straightforward solutions once you get the hang of how the AI "thinks."
Let's walk through some of the questions I hear most often from creators. My goal is to give you practical, no-fluff answers so you can spend less time troubleshooting and more time creating.
Can I Really Get Consistent Results From Just One Photo?
Yes, you absolutely can. But—and this is a big but—it all comes down to the quality of that one photo you upload. Today's AI platforms are incredibly good at learning a face, but they can only work with the information you give them. A clear, well-lit, forward-facing headshot with a neutral expression is the gold standard.
When you feed the AI a high-quality image, it can accurately map all the crucial facial features. This is what allows it to generate that same face consistently across a huge range of styles, poses, and scenes. While adding more photos can sometimes help, one fantastic photo is often all you need for professional results.
What Are the Commercial Rights for My AI Portraits?
This is a huge one, and the answer is always tied to the platform you're using and your specific subscription. For a tool like PhotoMaxi, the paid plans typically grant you a full commercial license. That means you're cleared to use the images in ads, on products, for marketing materials, and across your monetized social media channels.
A word of caution: always, always read the terms of service for your plan. Free trials or the most basic tiers almost never include commercial use rights. If you're making assets for your business, you have to be on a plan that explicitly gives you that license.
How Do I Fix Weird Hands or Other AI Artifacts?
Ah, the infamous AI hands! This is a well-known quirk of image generation, though the models get better at it all the time. Honestly, the fastest and easiest fix is often just to hit "regenerate." You'd be surprised how often a second roll of the dice with the exact same prompt gives you a perfect result.
If that doesn't work, try nudging the AI with your prompt. Adding little details like "detailed hands" or "natural relaxed pose" can sometimes make a difference. My go-to strategy is to generate a small batch of 4 or 5 variations at once. The odds of getting at least one flawless version go way up.
Can the AI Create Different Body Types and Poses?
Definitely. The AI is really only looking at your source photo for the face. The body, the clothes, the pose, the background—all of that is up to you and your text prompt. This is where you have total creative freedom.
You can direct the AI to create literally any scenario you can think of. For example, you could prompt:
- "Full body shot of a person in athletic wear, running on a beach at sunset."
- "Close-up portrait of a person in a formal black gown, attending a gala."
The AI will take the face it learned from your photo and blend it seamlessly into the new scene you've described. It's a fantastic way to create completely custom imagery.
Ready to stop spending on photoshoots and start creating? Try PhotoMaxi today and turn a single photo into an entire portfolio of on-brand, professional portraits.
Related Articles


Ready to Create Amazing AI Photos?
Join thousands of creators using PhotoMaxi to generate stunning AI-powered images and videos.
Get Started Free