How to Generate AI Images from Photo Like a Pro
Ever wonder if you could take one good photo and turn it into an entire gallery of professional headshots, eye-catching product shots, or a month's worth of social media content? You can, and that's exactly what we're going to break down in this guide. We're cutting through the hype to give you the practical, repeatable skills needed to generate AI images from a photo, and we'll tackle common frustrations like getting inconsistent or fake-looking results.
From a Single Photo to a Full-Blown Photoshoot
The concept of turning one picture into a massive content library sounds a bit like magic, but it’s now a real-world workflow for creators and brands. Forget the hassle and cost of coordinating photoshoots. Today, you can direct an AI to produce an endless stream of studio-quality visuals, all from a single starting image.
This isn't just about making random AI art. It’s a strategic process that lets you scale your visual content production in a way that was never possible before. Whether you're a solopreneur needing fresh headshots, an influencer hungry for new content, or an e-commerce brand looking to showcase products in a dozen different settings, the foundation is the same: one solid input photo can generate countless unique outputs.
The core idea is simple. You provide the AI with a reference photo, and then guide it with text prompts to create entirely new images that retain the key features of the original.
This diagram illustrates how your photo acts as the seed for a vast array of creative, professional-grade visuals.
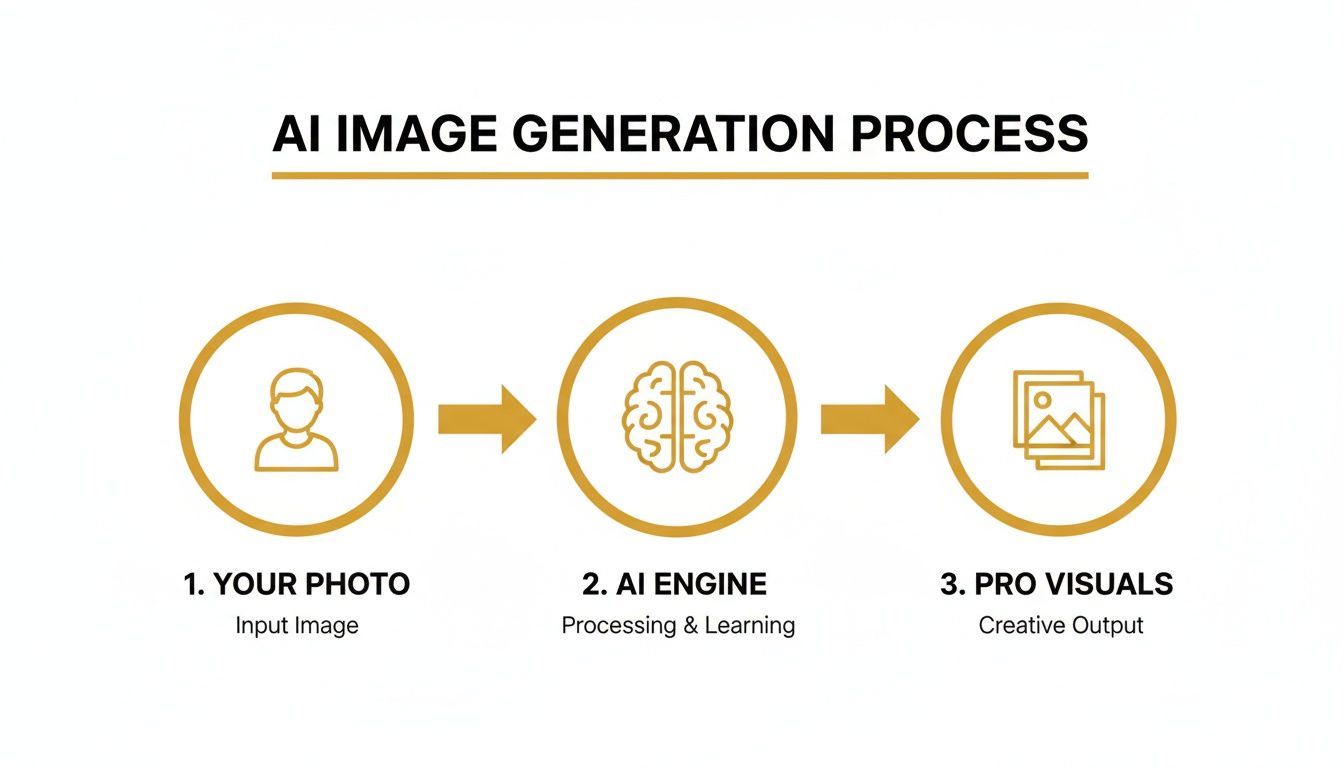
As you can see, the AI becomes a creative multiplier. It takes one simple input and churns out a huge set of high-quality images ready for any purpose.
The Staggering Scale of AI Image Creation
The move to AI-generated content is happening faster than almost anyone predicted. An incredible 34 million AI images are now created every single day. To put that in perspective, the total number has blown past 15 billion since mid-2022. It took traditional photography nearly 150 years to produce the volume of images that AI managed in just 18 months. This isn't just a trend; it's a fundamental shift for anyone creating visual content. You can dive deeper into these AI trends and statistics to grasp the full scale of this explosion.
The real game-changer here isn't just the speed—it's the access. Creating professional-grade visuals is no longer locked behind a gate of expensive gear and years of technical training. Anyone with a decent photo and a clear vision can now produce work that was once the exclusive domain of high-budget studios.
What This Guide Is All About
We're going to walk through the entire workflow, from picking your photo to finalizing the output. My goal is to give you the confidence to generate AI images from a photo for any project you can dream up.
Here’s a glimpse of what we'll cover:
- Choosing the perfect source photo that sets you up for success.
- Crafting precise prompts to get the exact style, location, and lighting you want.
- Keeping the likeness consistent across hundreds of different generations.
- Prepping your final images for commercial use, including legal considerations.
By the time we're done, you'll have a clear, step-by-step roadmap for creating a scalable system that produces high-quality, monetizable visual content.
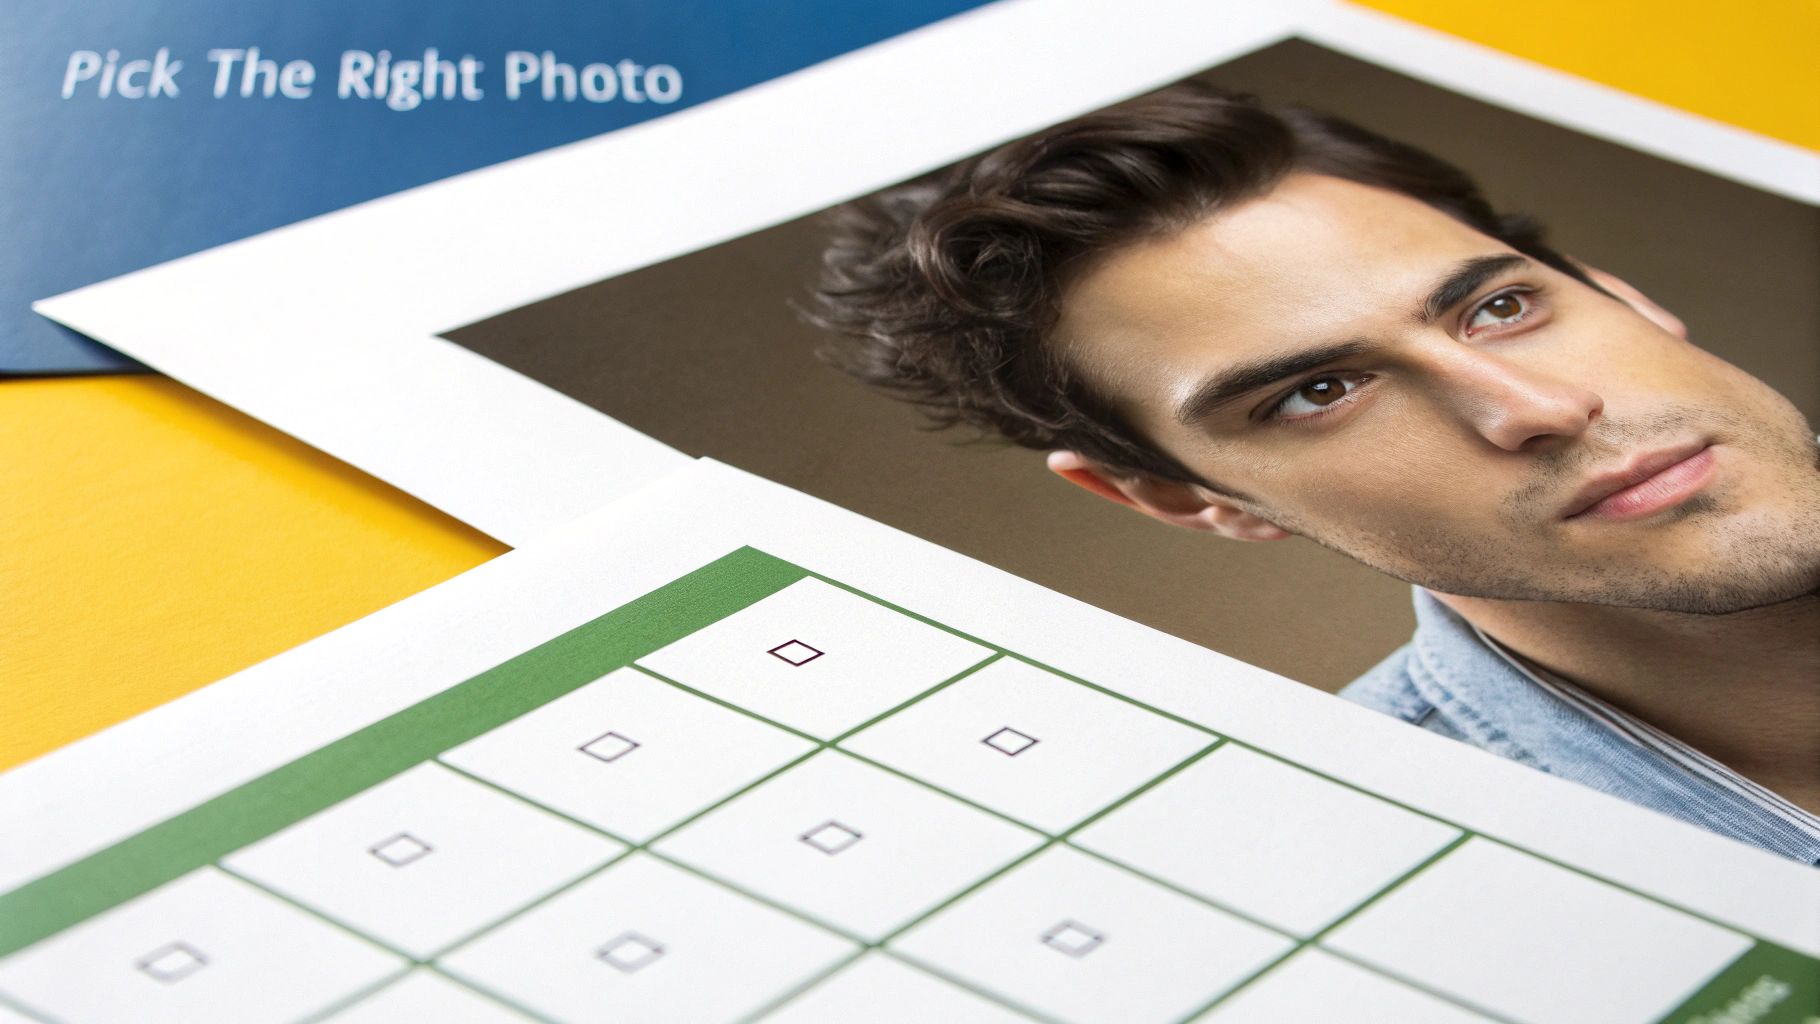
Choosing the Right Photo for AI Generation
Let's be blunt: your final AI-generated image is only as good as the photo you start with. If you feed the AI a blurry, poorly-lit selfie from a night out, you’re just setting yourself up for a lot of frustration and some truly bizarre results.
Think of it this way: an AI needs clear, high-quality data to understand your facial features, much like a portrait artist needs a good, long look at their subject. Getting this first step right is the single most important thing you can do for a successful outcome.
Treat this as your pre-flight check. A great source photo saves you hours of trial and error down the line, ensuring the AI can work its magic without having to guess. It’s the foundation for everything that follows.
The Anatomy of a Perfect Source Photo
So, what makes a photo perfect for AI? It's not about being a professional photographer, but about a few key elements that give the AI the best possible information to learn from.
Sharpness is Everything: The photo has to be high-resolution and in focus. I always recommend an image that’s at least 1024x1024 pixels. The AI needs to see the fine details—the texture of your skin, the exact shape of your eyes, even individual strands of hair. A blurry image just forces the AI to fill in the blanks, which rarely ends well.
Lighting Makes or Breaks It: This is non-negotiable. You need soft, even light that illuminates your face from the front. Avoid harsh shadows from side lighting or overhead lamps at all costs. Photos in direct, bright sunlight can create dark pockets under your eyes and nose, while dimly lit rooms just hide all the crucial details.
Keep Your Pose and Expression Simple: A neutral expression works best. A slight, natural smile is fine, but you want to avoid wide grins, goofy faces, or anything that dramatically changes your natural facial structure. Look straight at the camera, with your full face and shoulders in the frame.
A simple, uncluttered background is also a game-changer. A busy background can confuse the AI, causing it to blend background elements into your final image—a weird phenomenon called "artifacting." A plain wall or a simple outdoor scene is perfect.
Key Takeaway: The goal is a clean, unambiguous portrait. Think of a passport photo, but with much better lighting and a more relaxed vibe. The less "noise" the AI has to deal with, the more accurately it can capture your unique likeness.
Source Photo Quality Checklist
To make things even easier, run your potential photos through this quick checklist. It’s a simple way to make sure you’re setting yourself up for success from the get-go.
| Attribute | Optimal Choice | What to Avoid |
|---|---|---|
| Resolution | High-resolution (1024px+), sharp focus | Low-resolution, blurry, pixelated images |
| Lighting | Soft, even, frontal lighting | Harsh shadows, backlighting, dim conditions |
| Expression | Neutral or a gentle, closed-mouth smile | Wide grins, laughing, frowning, goofy faces |
| Pose | Straight-on, looking directly at the camera | Side profiles, angled shots, head tilted |
| Background | Simple, plain, and non-distracting | Busy, cluttered, or complex backgrounds |
| Obstructions | Face is fully visible | Sunglasses, hats, hands covering face |
By sticking to this checklist, you're giving the AI the best possible chance to create something amazing.
These aren't just rules for portraits, by the way. If you're creating AI-generated product shots, the same principles of clear lighting and simple backgrounds apply. For a deeper dive into that, our detailed guide explains how to take better product photos, covering everything you need to know about lighting and composition.
Crafting Prompts That Deliver Perfect Images
Once you've got your high-quality source photo, you're ready to play art director. The text prompt is where the magic happens—it’s how you translate the vision in your head into specific instructions the AI can actually follow. If you want to generate AI images from a photo that look intentional and not just like a lucky accident, you have to move beyond simple phrases.
Think about it: a prompt like "a man in a suit" is basically a shrug. The AI is left to guess everything. What kind of suit? Where is he? What's the lighting doing? You'll get something, but it will probably be incredibly generic. A detailed prompt, on the other hand, directs the outcome.
The Four Pillars of a Powerful Prompt
Every great prompt I write is built on four core components. I’ve found that if I methodically think through each one, my results are far more consistent and closer to what I envisioned from the start. It's about taking control of the process.
Here are the pillars I always use:
- Subject: Who or what is the main focus? Be specific about their action, their expression, even what they're wearing.
- Style: What’s the overall vibe? Think like a photographer. Is it an "editorial" shot? "Cinematic"? Or maybe you want something more artistic, like "hyperrealistic" or a "3D render."
- Location: Where is this all happening? Don't just say "office." Say "a minimalist Scandinavian office" or "a bustling Tokyo street at night." Details bring the scene to life.
- Lighting: How is the scene lit? This is huge for setting the mood. "Golden hour," "dramatic studio lighting," and "soft neon glow" will give you three completely different images, even with the same subject.
When you combine these elements, you're not just throwing keywords at the AI; you're building a complete scene for it to render.
Prompting for Different Real-World Scenarios
Let's put this into practice. Say you're starting with a simple headshot and need to create images for a couple of different marketing needs.
Scenario 1: An E-commerce Product Shot
You need a crisp, clean shot of someone using a new gadget for a product page. The goal is clarity, professionalism, and a premium feel.
- Prompt Example: Professional product shot of a woman with a confident expression, holding a sleek black smartphone. She is in a bright, modern office with a blurred background. The lighting is soft and even, studio-quality, highlighting the product. Shot on a Canon EOS R5 with a 50mm f/1.8 lens.
See how I included the camera and lens details? That's a little trick that nudges the AI to mimic the specific depth of field and quality you'd get from professional gear. It’s a great way to boost realism. Our full guide on creating realistic AI photos dives into more techniques just like this one.
Scenario 2: A Vibrant Instagram Lifestyle Post
For Instagram, you want something totally different. The goal is engagement and authenticity. The shot should feel energetic and real, like a snapshot from a great day out.
- Prompt Example: Candid lifestyle photo of a man laughing, wearing a casual denim jacket, standing on a sun-drenched balcony in Santorini, Greece, with the blue ocean in the background. The lighting is bright golden hour sun, creating warm tones and long shadows. Energetic and joyful mood.
The global AI image generation market is projected to surpass $2.7 billion by 2025, growing from just $820 million in 2023. This explosion is fueled by massive performance gains; current models now have a 92% success rate with complex prompts. This makes it easier than ever to bring detailed creative visions like these to life.
Using Negative Prompts to Refine Your Vision
Telling the AI what you want is only half the battle. You also have to tell it what you don't want. That’s where negative prompts come in. Think of them as guardrails that steer the AI away from its most common and frustrating mistakes.
We've all seen the classic AI fails: mangled hands, extra fingers, gibberish text, or that weirdly smooth, "plastic" skin. You can actively tell the AI to avoid these things.
A good negative prompt is just a simple list of what to exclude.
- My Go-To Negative Prompt: ugly, deformed, disfigured, poor details, bad hands, extra limbs, extra fingers, blurry, grainy, watermark, signature, text.
- For Extra Photorealism: painting, drawing, illustration, cartoon, 3D render, unrealistic, plastic skin.
By adding a negative prompt to every generation, you dramatically improve your odds of getting a usable image on the first try. It’s a simple step that cleans up your results and saves a ton of time. I consider it an essential part of my workflow.
Getting Your AI Photos to Actually Look Like You
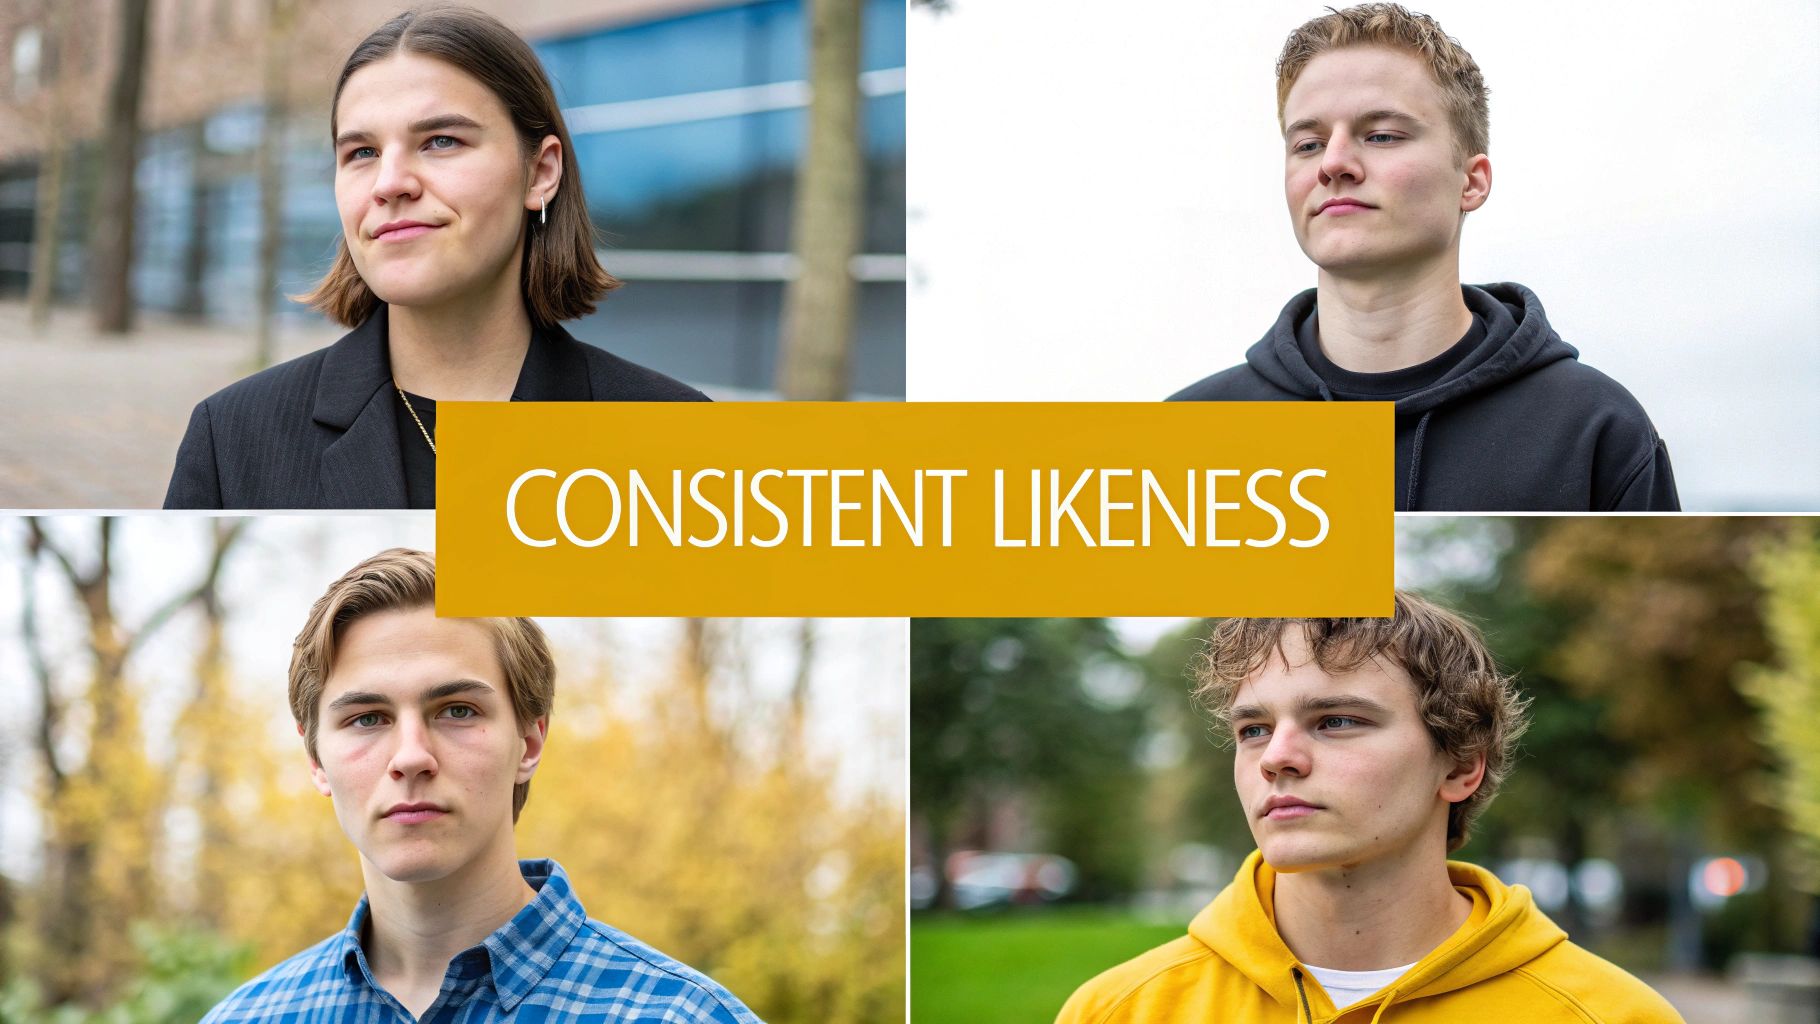
Let's be honest, one of the biggest frustrations when you start generating AI images is the "stranger in the mirror" effect. You finally get a stunning image, but the person in it looks more like a distant cousin than you. Getting the AI to create the same face twice can feel like winning the lottery.
This is a classic problem. Early AI tools often treated each generation as a completely new roll of the dice. But thankfully, things have moved on. Modern platforms built for professional results, like PhotoMaxi, are designed to solve this exact issue by creating a reliable digital model of your face.
Instead of just glancing at your photo for a one-off image, these systems actually learn your facial structure. This creates a foundation that keeps your likeness recognizable, whether the AI puts you in a boardroom or on a beach in Bali.
How Pro Platforms Nail Your Likeness
The secret to consistency isn't a single magic button; it’s a mix of a high-quality starting point and a couple of key technical ideas. When you upload a clear source photo to a platform like PhotoMaxi, it does more than just see a picture—it analyzes the fundamental geometry of your face.
This analysis basically creates a unique digital fingerprint. The system maps out key landmarks—the distance between your eyes, the shape of your nose, the curve of your jaw. This data becomes a persistent model that the AI refers back to for every single new image you create.
Here’s a simplified look at what happens:
- Creating the Model: Your initial photo is used to train a small, dedicated model of your face. This is precisely why a high-quality source image is so important. Better data in means a more accurate model out.
- Applying it Consistently: This personal model is then applied to every new prompt you write. Think of it as a permanent "character sheet" that guides the AI’s final render.
- Keeping Creative Freedom: You still have total freedom to change the style, location, and clothing in your prompts. The AI just ensures the underlying facial structure from your model stays locked in.
This approach is what separates professional-grade tools from basic image generators. It turns the process from a game of chance into something predictable and repeatable.
Fine-Tuning Your Results with Seed Numbers
Even with a solid likeness model, there's another layer of control you can use: the seed number. A seed is just a number that kicks off the AI's generation process. Think of it as the unique ID for a specific image's starting point.
Here's the cool part: if you use the same prompt and the same seed number, the AI will produce an almost identical image every single time. This is a game-changer when you find a composition you love and just want to tweak a few small details.
For instance, say you generate the perfect headshot, but you'd rather the blazer was black instead of blue. By locking in the seed number and changing only that one detail in your prompt, you can keep the exact pose, expression, and lighting while just altering the clothing.
This gives you a level of precision that feels much more like photo editing than random generation. It’s an advanced trick that really puts you in control.
A Quick Workflow for a Social Media Campaign
Let's put this into a real-world context. Imagine you need a whole set of on-brand images for a month-long social media campaign. You want to show yourself in different professional and casual settings, but your face has to look the same in every single shot.
- Build Your Likeness Model: First thing's first. Upload a high-quality, well-lit headshot to a platform like PhotoMaxi. This single step creates the consistent character model you'll use for the entire campaign.
- Generate Your "Hero" Shot: Next, write a detailed prompt for your main image. Something like: "Professional headshot of a woman in a modern office, soft window lighting, wearing a navy blue blazer, confident expression, blurred background."
- Find and Lock the Seed: Once you get a result you love, find its seed number (most advanced platforms show this). Now you have a baseline image and its unique ID.
- Iterate and Tweak: To create variations, just copy the original prompt and the seed number. Now you can make small changes to generate a whole series of consistent images.
You could adjust the prompt to things like:
- "...in a creative studio, wearing a casual sweater..."
- "...speaking at a conference, dynamic stage lighting..."
- "...at an upscale cafe, holding a coffee cup..."
Because you're using the same core model and the same seed, the composition and your facial features will stay remarkably stable. This workflow ensures every image in your campaign looks like it was part of the same professional photoshoot, helping you build a cohesive and recognizable brand online.
So, you’ve generated a fantastic, photorealistic image. That’s a great first step, but it’s not the end of the road. Getting from a raw AI generation to a polished asset ready for a marketing campaign or your brand’s Instagram feed requires a solid post-production plan.
This is where the magic really happens. We’re talking about refining image quality, making subtle but powerful visual tweaks, and—most importantly—sorting out the legal side of things. Nailing this final stage ensures all your hard work pays off and you can use your new creations confidently.
Upscaling for Professional Quality
The default resolution from most AI image generators is fine for a quick preview, but what if you need more? For a crisp website banner, a printed flyer, or a high-res poster, you absolutely have to upscale.
Upscaling is an AI-powered process that intelligently adds pixels to your image, blowing it up without the fuzzy, pixelated mess you get from a simple resize.
A lot of the pro-level platforms, including PhotoMaxi, have upscalers built right in. These tools are smart; they’re trained to add realistic detail, sharpen up edges, and refine textures so everything looks natural. A standard 1024x1024 pixel AI image can be boosted to 4K or even 8K resolution, making it more than ready for almost any professional job you can throw at it.
Don’t even think about skipping this step if quality is a priority. A blurry photo screams unprofessionalism and can kill the credibility of your brand in an instant.
Fine-Tuning with Relighting
Ever get an AI image that's almost perfect but the vibe is just... off? Maybe your brand is all about warm, inviting tones, but the AI gave you a scene with cool, sterile lighting. This is where relighting becomes your secret weapon.
Relighting is a more advanced trick that lets you completely change the lighting after the image has been generated. You can shift the light’s direction, warm up or cool down its color, and adjust the intensity to totally transform the mood.
For instance, you could:
- Add a warm, golden-hour glow to a portrait to make it feel more friendly and approachable.
- Introduce some dramatic, high-contrast shadows for a bold, cinematic effect.
- Mimic soft, even studio lighting to get that clean, professional look for a product shot.
This kind of control is what helps you maintain a consistent visual identity. It ensures every single image you use feels like it belongs to your brand, creating a cohesive look across all your marketing channels.
Navigating the Legal Landscape of AI Images
Alright, let's talk about the most important—and often overlooked—part of this whole process. Who actually owns the images you create? Can you legally use them in ads or on products you sell? The answer completely depends on which AI platform you’re using.
Be warned: not all AI image generators give you the same permissions. Many of the free tools come with restrictive licenses that only allow for personal, non-commercial use. If you use an image from one of those platforms for your business, you could land in some serious legal hot water.
Crucial Takeaway: Before you commit to any tool, you must read its terms of service. You're looking for clear, explicit language that grants you a commercial license and full ownership or usage rights for the images you generate.
For any serious business or creator, this is non-negotiable. Platforms built for professional use typically have subscription tiers that include these commercial rights. Yes, they cost more than a free tool, but that investment is protecting your business and giving you the peace of mind to monetize your work.
When you generate AI images from photo for commercial purposes, checking your rights is the first thing you should do. For a detailed breakdown of platforms with clear commercial licensing, check out our guide to the best AI photo generator options on the market.
Choosing the right platform from the start means every image you create becomes a legitimate business asset—ready for any campaign, product listing, or social media post you can dream up.
A Few Common Questions About AI Image Generation
Once you start turning photos into AI images, you're bound to run into a few head-scratchers. It’s a powerful process, but it definitely has its quirks. Let's tackle some of the most common questions I hear, with some straight-up answers to help you get the results you’re looking for.
Can I Really Get the Same Face in Every AI Image?
Yes, you can—but this is where the platform you choose makes all the difference. I’ve seen countless people get frustrated when older or more basic AI tools produce a slightly different face with every click. One image looks great, the next is a "close-but-not-quite" cousin. It makes creating a consistent set of photos pretty much impossible.
This is exactly the problem that more advanced platforms like PhotoMaxi were built to solve. Instead of just referencing your photo, they create a detailed digital model of you from that initial image. Think of it as the AI "learning" your specific facial structure. This model ensures your likeness stays consistent across hundreds of different shots, no matter what style, pose, or wild location you throw at it.
For best results, always feed it a high-quality, well-lit photo to begin with. It gives the model the best possible data to learn from.
Is It Actually Legal to Use These AI Images for My Business?
This is a big one, and the answer lives in the fine print. The legality of using your AI-generated images for commercial purposes comes down entirely to the terms of service of the platform you used. It's a critical detail that's easy to miss.
Many free tools are only licensed for personal, non-commercial fun. If you grab an image from one of those and slap it on your website, marketing materials, or products, you could be opening yourself up to legal trouble.
Always, always check the licensing agreement before you use a generated image for anything beyond a personal project. This is non-negotiable. Platforms like PhotoMaxi are designed for this, offering plans that explicitly grant you full commercial rights. That means you can use your creations for any business purpose, worry-free.
How Do I Make My AI-Generated Photos Look Genuinely Real?
Getting that true-to-life, photorealistic look isn't about one magic button. It's really a combination of three things: the quality of your source photo, the words you use in your prompt, and a few final tweaks.
- Start with a Great Photo: You can't get gold from lead. A crystal-clear, well-lit source image is the foundation for everything. The AI needs clean data to produce a clean result.
- Talk Like a Photographer: In your prompt, ditch the artsy terms and think like you're behind a camera. Include details like, "shot on a Canon EOS R5, 50mm f/1.8 lens, golden hour lighting, hyperrealistic, 8K, sharp focus." These technical cues push the AI toward a photographic style instead of an illustration.
- Polish the Final Image: Don't forget to use the built-in tools. Upscale the image to a higher resolution for crispness, and play with the lighting and color balance. Sometimes a tiny adjustment is all it takes to make it pop.
Here's a pro tip: use a negative prompt to tell the AI what you don't want. I often add terms like "plastic," "unrealistic," or "airbrushed" to avoid that overly perfect, synthetic look. A little bit of natural imperfection is what often sells the realism.
Can I Turn My Photo into an AI Video, Too?
You bet. We've moved way beyond static images. The next step is bringing that AI version of you to life with video, and the best platforms are already there.
The process builds on the same digital model created from your original photo, which is key for consistency. You just write a prompt describing the action. For instance, you could try something like, "cinematic shot of [your character] walking through a neon-lit Tokyo street at night, rain falling."
This unlocks a massive range of possibilities for creating dynamic, eye-catching content for TikTok, Instagram Reels, or ads. It’s all part of a complete workflow—going from a single photo to a whole library of images and videos.
Ready to stop scrolling through endless stock photos and start creating your own professional visuals? PhotoMaxi gives you the power to generate endless studio-quality images and videos from a single photo. Transform your content strategy and build a library of on-brand visuals today. Start creating with PhotoMaxi.
Related Articles


Ready to Create Amazing AI Photos?
Join thousands of creators using PhotoMaxi to generate stunning AI-powered images and videos.
Get Started Free