AI Video Generator From Image A Guide to Cinematic Clips
Ever looked at a striking photo and just wished it could move? That's exactly what an AI video generator from image is designed to do. This kind of technology takes a single static picture, analyzes it, and then intelligently generates fluid, lifelike motion to create a short, dynamic video clip.
It’s more than just a simple animation. Modern platforms are sophisticated enough to maintain character consistency and facial accuracy, which is what makes the final video feel so authentic and not just like a cheap special effect.
Bringing Your Still Images to Life With AI
For content creators, marketers, and especially e-commerce brands, this is a massive leap forward. Think about it: you can slash production costs and time by creating cinematic reels or compelling product demos in a matter of minutes. That amazing photo you took? It can now become engaging video content without you ever touching complex editing software.
The process itself is wonderfully straightforward. You feed the AI a high-quality image, give it a text prompt describing the kind of movement you want to see, and then let the algorithm handle the rest. What you get back is a short video that keeps the soul of your original photo but adds a layer of dynamic energy that a still image just can't compete with.
The Power of AI in Motion Graphics
This isn't about making a picture just wiggle around on the screen. Today's AI models are smart enough to truly understand the content of an image. They identify the main subject, the background, and all the potential points of motion to produce animations that look and feel believable.
The possibilities are pretty much endless, but here are a few common uses I've seen take off:
- Social Media Content: Animate a portrait to create an Instagram Reel that stops people from scrolling.
- Product Demos: Show off a product from multiple angles without the hassle and cost of a full video shoot.
- Virtual Try-Ons: Bring an outfit to life on a model, giving customers a much better sense of how it fits and moves.
- Digital Art: Add subtle, captivating motion to digital paintings or illustrations to make them stand out.
The real magic here is the efficiency. A task that used to demand skilled animators and days of work can now be done in minutes by almost anyone. It's leveling the playing field, giving small businesses and solo creators the power to produce high-quality video.
This simple flowchart breaks down the typical workflow you'll find in most modern AI video tools.
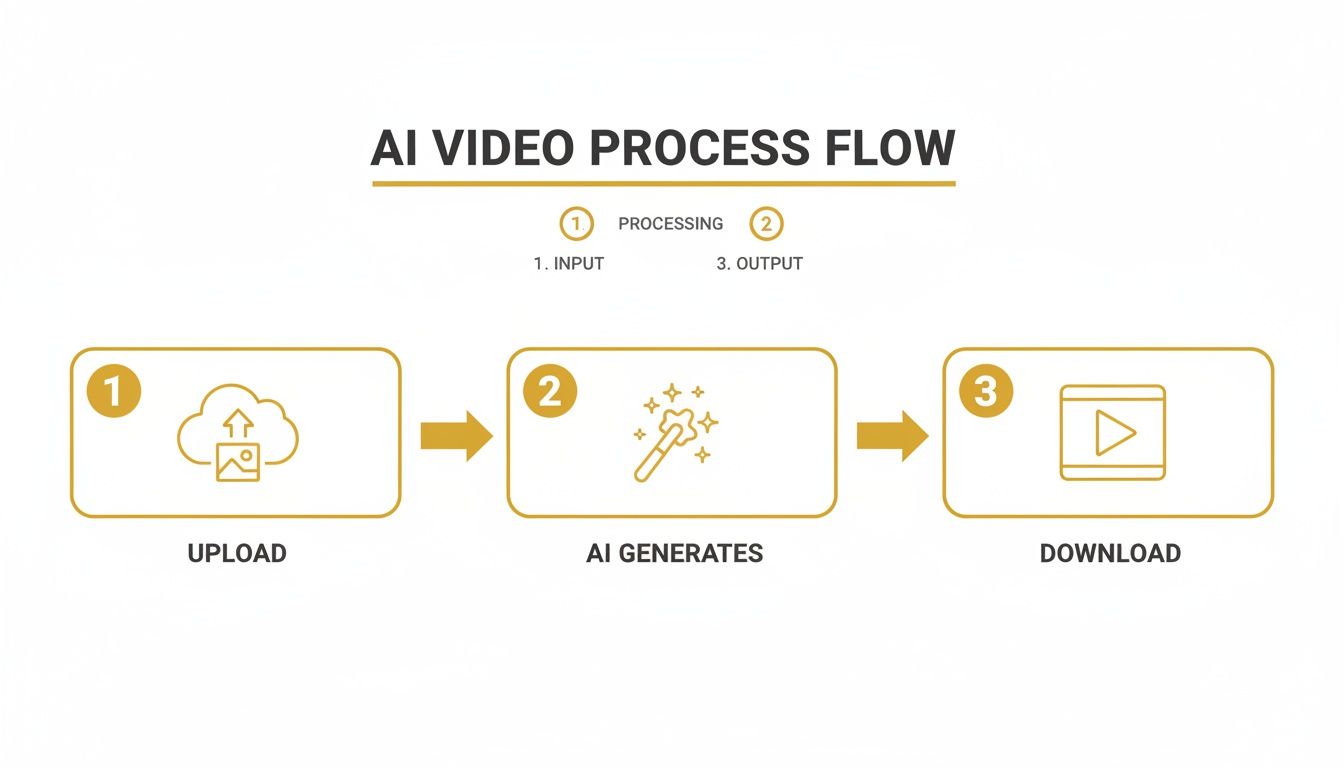
As you can see, the streamlined process—upload, generate, and download—is what makes this technology so approachable for everyone.
Before we dive into the step-by-step, here’s a quick table summarizing what you can generally expect from these tools.
Core Capabilities of an AI Video Generator
| Feature | Typical Output Quality | Average Generation Time | Primary Use Case |
|---|---|---|---|
| Character Animation | 720p - 1080p | 60-120 seconds | Social media clips, animated avatars |
| Object Motion | 1080p - 4K | 30-90 seconds | Product demos, e-commerce ads |
| Camera Movement | Up to 4K | 20-60 seconds | Cinematic pans, zooms, parallax effects |
| Background Animation | 720p - 1080p | 45-100 seconds | Creating ambiance, animated landscapes |
This table gives you a ballpark idea, but keep in mind that results can vary based on the platform you choose and the complexity of your prompt.
Transforming E-Commerce and Content Creation
The impact on digital marketing is already huge and it's only growing. Some are predicting that by 2026, image-to-video AI generators will have completely reshaped e-commerce, with advanced tools offering incredibly precise motion control.
We're already seeing benchmarks where certain platforms can generate a stable 1080p video with natural-looking facial expressions in just 90 seconds. For an online store, that's perfect for creating quick product demos that have been shown to drive up to 35% higher conversion rates on platforms like Shopify. If you're looking for more details, you can discover more insights about image to video AI generators on clipcat.com. This incredible combination of speed and quality is unlocking brand-new strategies for businesses of all sizes.
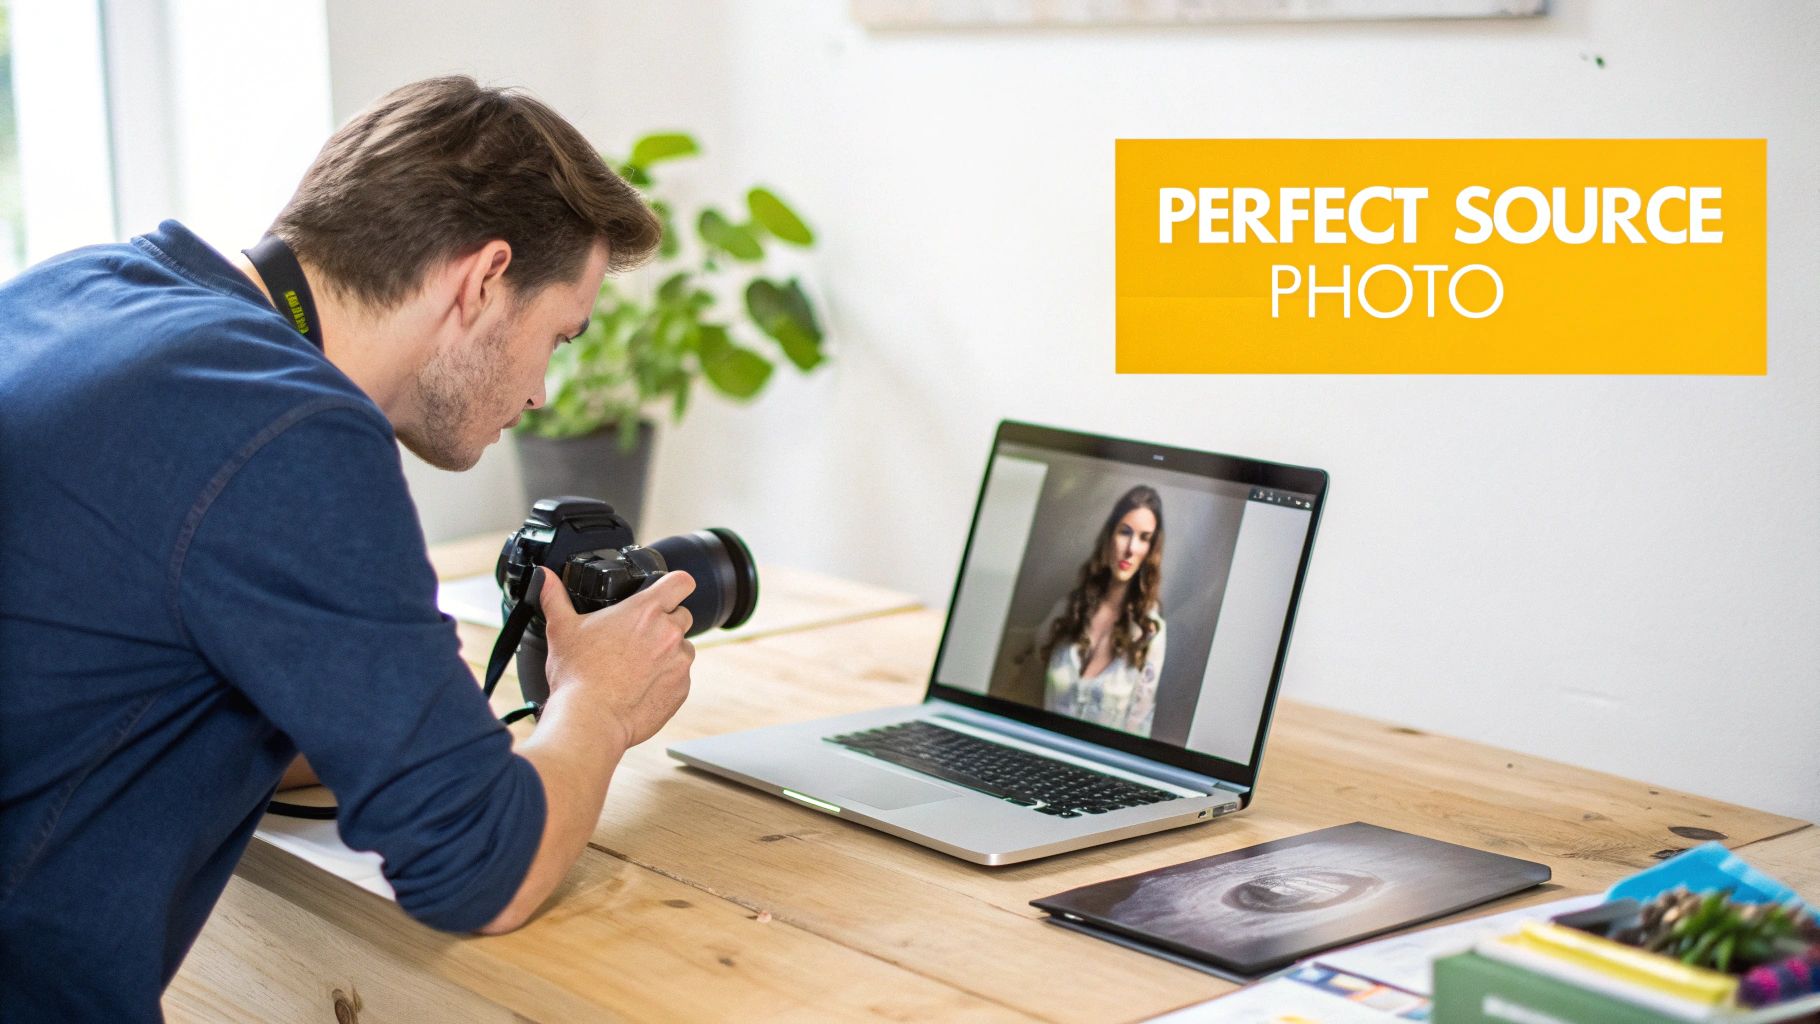
Choosing the Right Image for AI Animation
Everything that follows in this guide hinges on one thing: the quality of your starting photo. Think of it like cooking. The best chef in the world can't make a masterpiece with bad ingredients. It's the same deal here—the AI needs a strong, clear foundation to build believable motion, and your final video's quality is a direct reflection of the image you feed it.
I've found that the most impressive results always start with high-resolution images. When a photo is sharp and well-lit, the AI has more data to work with, making it easier to understand the form, texture, and details it needs to animate. An uncluttered background is another huge win, as it keeps the AI from getting confused about what's supposed to be moving and what should stay put.
Prepping Your Image for the Best Results
Before you even think about uploading your picture, a little prep work can go a long, long way. You don't need to be a Photoshop wizard. Simple tweaks in your phone's built-in editor to enhance details, bump up the contrast, or fix the lighting will give the AI a much cleaner canvas to start with.
From my experience, here are the common culprits that lead to weird artifacts or distorted movements in the final video. Try to avoid these:
- Blurry or low-resolution photos: They just don't have enough detail for the AI to grab onto, which results in fuzzy, unconvincing motion.
- Overlapping subjects: If people or objects are hiding behind one another, the AI often struggles to tell them apart. The result is usually a jumbled, unnatural mess.
- Extreme shadows or blown-out highlights: Bad lighting hides key features, and this can cause flickering or warped sections in the generated video.
Your main goal here is simple: give the AI a clear, unambiguous subject to lock onto. Spending a few minutes sharpening, brightening, or cropping your image can save you a ton of headaches later. If you really want to get into the weeds of creating perfect source images, you might like our guide on how to generate photos with AI.
Think of this prep stage as your chance to steer the AI toward the outcome you want. Your image is basically a visual brief for the animation. A crisp, clean product photo, for instance, is going to produce a far more convincing demo video than a cluttered, poorly lit one.
This isn't just an AI quirk; it reflects a broader trend in visual content. Clear, detailed visuals simply perform better. In fact, an analysis of 10,000 agency websites revealed that content built around clear case studies saw 167% higher conversion rates. By giving the AI a high-quality "case study" in image form, you're setting it up for that same level of success. You can read the full research about content conversion on example.com.
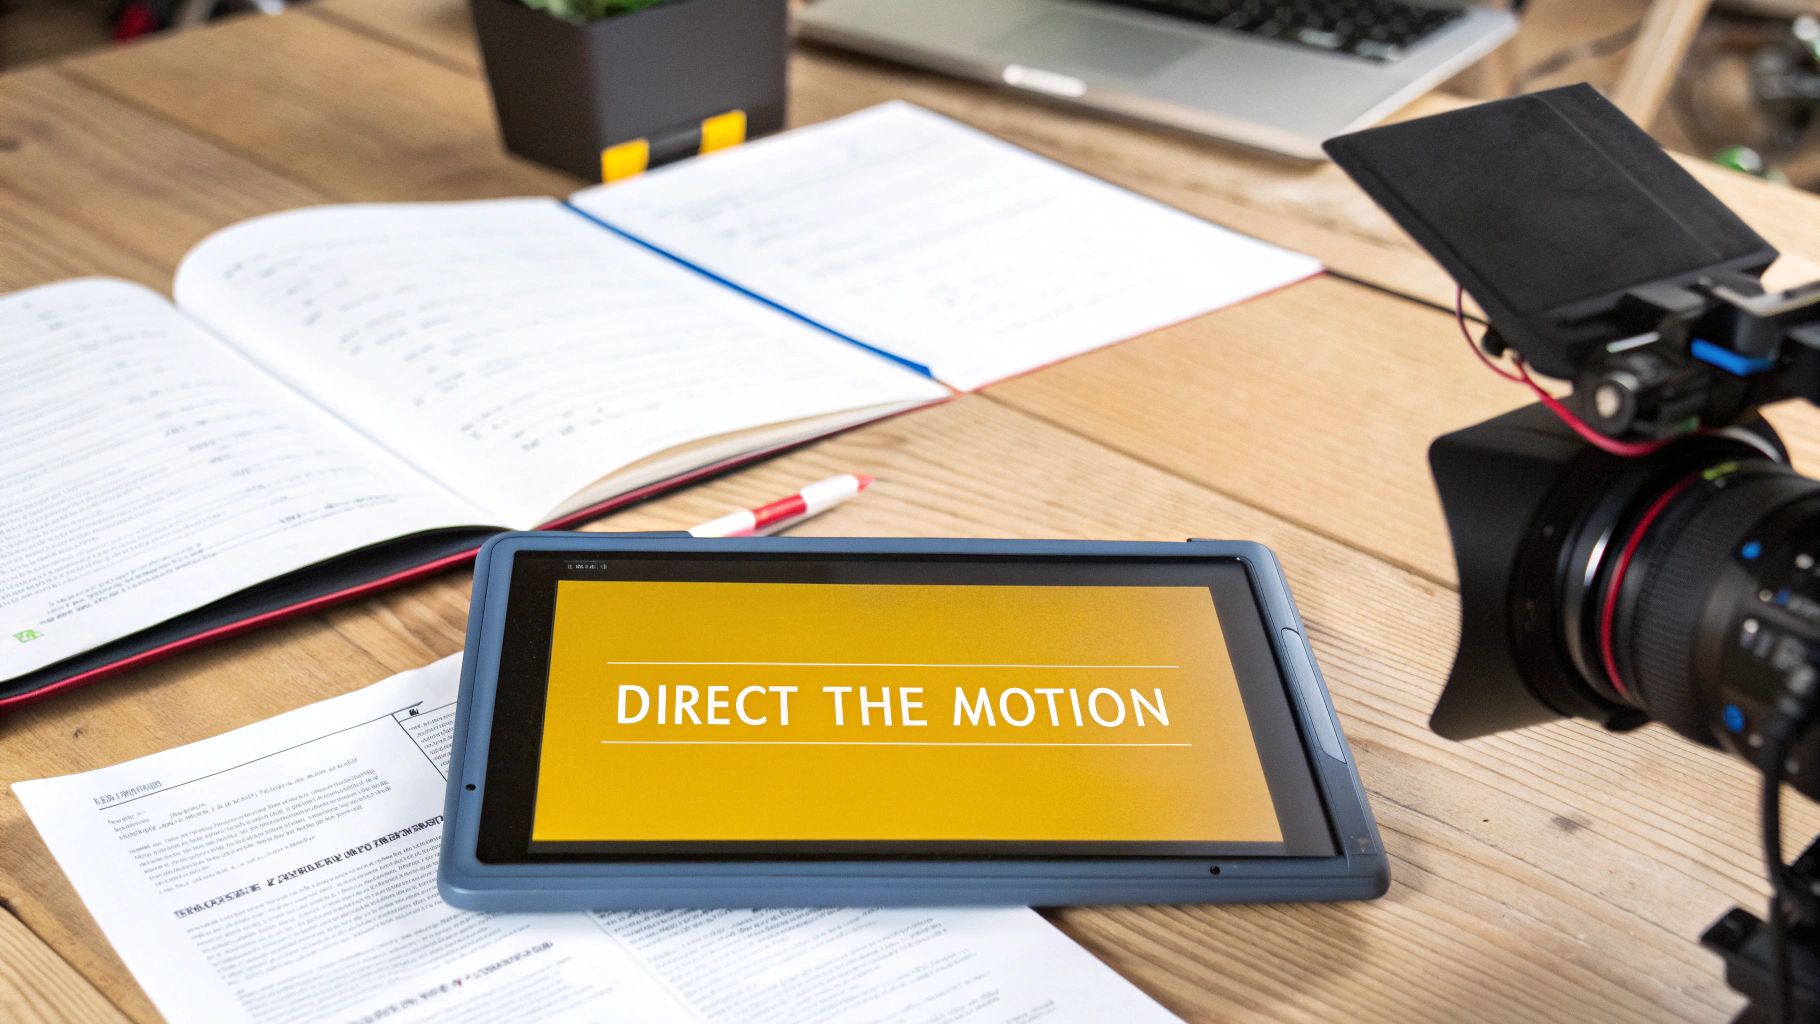
How to Write Prompts for Compelling Motion
Your text prompt is your director's chair. It’s the script you hand the AI, and a well-written one is what separates a floaty, generic animation from something genuinely cinematic. Just telling the AI to "make it move" won't cut it if you're aiming for a professional look.
To get real control from an ai video generator from image, you have to start thinking like a filmmaker. Don't just describe the subject in your photo—describe the action and how the camera should capture it. Specificity is everything here.
From Simple Instructions to Detailed Directions
Let's walk through how to build a killer prompt. You start with the basics—the who and the what—and then you layer on the magic with movement, camera work, and mood. The more precise you are, the more the final video will look like what you imagined.
Define the Subject's Action: What is your main subject actually doing? "A woman smiling" is a start, but "A woman gives a subtle, knowing smile as the wind gently blows through her hair" paints a much clearer picture for the AI.
Direct the Camera: How are we seeing this scene? Use classic film terms. "Cinematic pan left," "slow zoom in," or "dolly shot moving forward" are clear, actionable instructions that create a dynamic feel.
Add Environmental Effects: What else is going on? Details like "falling autumn leaves," "sparkling city lights in the background," or "gentle waves crashing on the shore" add incredible depth and a sense of place.
A great prompt isn't just a list of keywords; it's a short story. You are painting a picture with words, describing a moment frozen in time that you now want to bring to life. This narrative approach helps the AI understand context and intent.
The technology is getting smarter every day to make this easier. Globally, 60% of the top AI tools now pack in features like automatic camera paths and style presets. Some of these platforms are churning out over 1 million clips a month. For creators like us, that means a huge boost in efficiency—I've heard people report 500% productivity increases just by using batch workflows to create content. If you want to dig deeper, you can discover more insights about top AI video generators on clipcat.com.
Advanced Prompting Techniques
Once you have the fundamentals down, it's time to play with more advanced controls for that extra polish. One of my favorite tools is the motion brush, which you can find in platforms like PhotoMaxi. It lets you literally paint over the exact parts of the image you want animated, giving you incredible, pixel-level control.
Another pro-level technique is to get specific about the emotional tone or artistic style you're after.
The table below breaks down how you can level up your prompts for different scenarios, moving from a basic idea to a much more polished concept.
Prompt Examples for Different Video Styles
| Goal | Simple Prompt Example | Advanced Prompt Example | Expected Outcome |
|---|---|---|---|
| Influencer Reel | "Woman looking at camera" | "Cinematic close-up, woman looks up and winks, soft golden hour lighting, slow motion" | An emotional, engaging clip perfect for social media. |
| Product Demo | "Shoes rotating" | "Dynamic 360-degree rotation of a sneaker, studio lighting, clean white background, fast-paced" | A crisp, professional product showcase for e-commerce. |
| Virtual Try-On | "Dress moving" | "Model wearing a silk dress, the fabric gently ripples as she walks forward, elegant and fluid motion" | A realistic view of how clothing moves on a person. |
Ultimately, the key to mastering this is experimentation. Don't be afraid to mix and match different actions, camera moves, and stylistic words. That’s how you’ll find your unique visual voice and create videos that truly stand out.
Fine-Tuning Your Settings for a Professional Look
Once you've nailed down your prompt, it's time to get into the technical settings. This is the part of the process where a good AI video becomes a great one. Honestly, mastering the configuration panel in an AI video generator from image like PhotoMaxi is what separates amateur content from videos that genuinely stop people from scrolling.
These aren't just arbitrary numbers and sliders. Every adjustment you make directly impacts the mood, quality, and overall vibe of your video. Think of it like a photographer in a studio adjusting the lights and camera settings—each tweak, no matter how small, has a huge effect on the final shot.
Dialing in Resolution and Frame Rate
Let’s start with two of the most important settings: resolution and frame rate. What you choose here really depends on where the video is going to be seen and the feeling you're trying to capture.
Resolution (1080p vs. 4K): For most things you'd post on social media, 1080p is perfect. It looks sharp on a phone and doesn't take forever to load. But if you’re creating something for a website's main banner or a high-end ad campaign, jumping up to 4K will give you that stunning detail and premium feel. Just be prepared for longer render times.
Frame Rate (24fps vs. 60fps): This one is all about the smoothness of the motion. A frame rate of 24fps (frames per second) is what they use in the movies, and it gives your video that classic, cinematic quality. If you want something incredibly smooth and lifelike—which works great for product demos or action shots—then 60fps is your best bet.
The AI video space is moving incredibly fast. By 2026, top-tier tools like Runway and Kling are expected to turn a static photo into a compelling video in under 90 seconds. Some generators can already churn out 1080p MP4s at 24fps from a single portrait, hitting 95% facial accuracy with movement that just feels more natural than what you get from lower-res tools.
Mastering Motion Strength and Relighting
Beyond the basics, there are two other controls that give you real artistic power: motion strength and relighting. This is where you can truly dial in a specific aesthetic.
Motion strength is basically a "how much" slider for the animation. Keep it low, and you’ll get subtle, gentle movement—perfect for a portrait where you just want to add a touch of life. Crank it up, and you get dramatic, high-energy motion that's designed to grab attention.
The relighting tool is your secret weapon. Seriously. With just a click, you can go from bright, even studio lighting to the warm glow of golden hour, or even a moody, noir-inspired look. This is a game-changer for making sure the video's atmosphere perfectly matches your brand's style.
Getting these settings right is more of an art than a science. My best advice is to just play around with different combinations. See what works for your specific image and what you're trying to achieve. For a closer look at various platforms and their features, check out our guide on the best AI video creation tools. You’d be surprised how much of a difference a few small adjustments can make in creating a video that looks intentional and professional.
Using Batch Workflows to Scale Your Content
Creating one amazing video is great. But what really moves the needle in your content strategy is a steady stream of high-quality videos. This is where an ai video generator from image goes from being a cool gadget to an absolute workhorse, letting you scale up your output without hitting a wall.
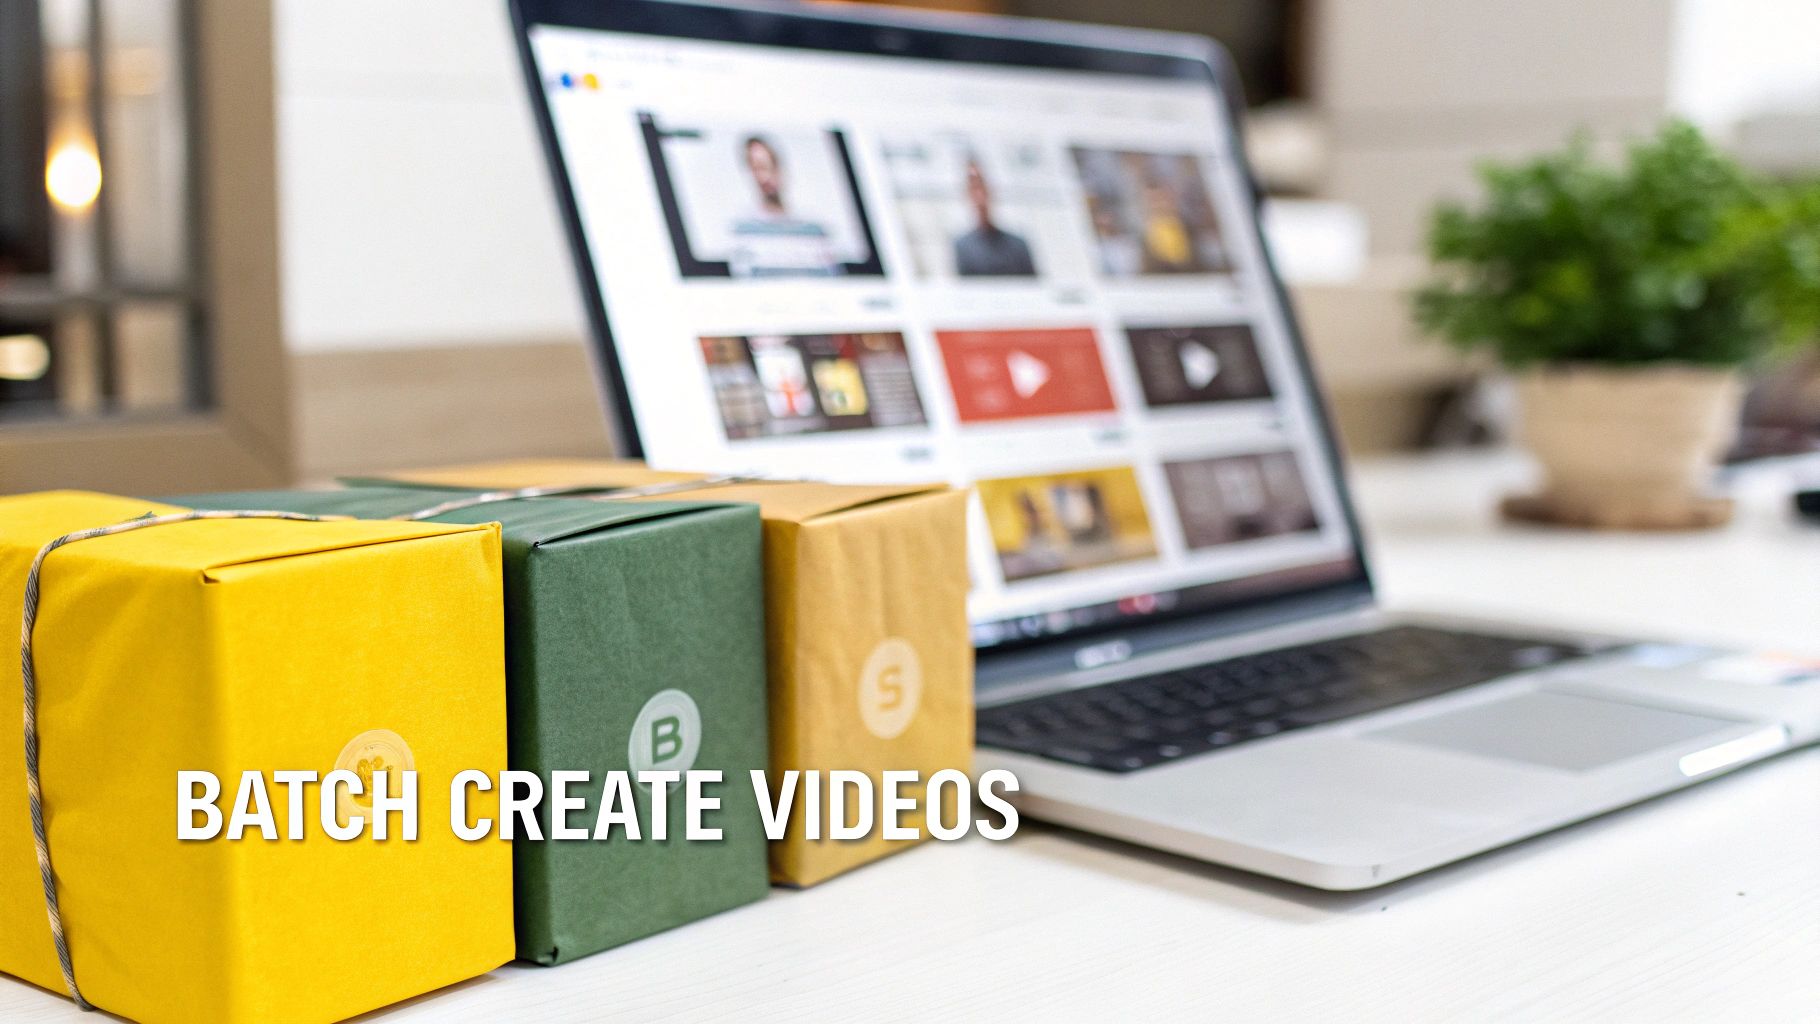
Batch workflows are built for efficiency. Instead of making videos one by one, you can set up a single recipe—your motion prompt, camera style, lighting, and render settings—and apply it across a whole folder of images at once. For an e-commerce brand, this is a total game-changer.
Think about it: you've got a new line of ten handbags to launch. You can upload all ten product shots, nail one perfect prompt, and generate ten distinct videos in a single go. This is how you ensure every single video has that same professional, on-brand feel.
A Real-World E-commerce Scenario
Let's walk through a practical example. An online clothing store is launching a new summer dress collection with five different patterns. They need a week's worth of Instagram Reels. Doing this by hand, one video at a time, could easily eat up an entire day.
Here's how a batch workflow simplifies everything:
- Load Up Your Images: Start by adding the five high-quality photos of the dress, each showing a different pattern, into your project.
- Write a Universal Prompt: You need one prompt that works for all of them. Something like, "Cinematic slow pan from bottom to top, fabric gently swaying, soft morning sunlight."
- Lock in Your Settings: Choose your preferred resolution (1080p), a frame rate that fits the mood (24fps for a film look), and any relighting effects you want.
- Start the Batch Render: Now for the magic. With a single click, the AI gets to work, applying those instructions to all five images. You end up with a cohesive set of videos, ready to be scheduled.
This isn't just a time-saver. It's about building and maintaining brand consistency at scale. When all your video assets share the same visual DNA, it reinforces your brand identity and makes your social media feed look incredibly polished.
This kind of efficiency is what makes a powerful multi-channel strategy possible. In fact, research shows that agencies distributing custom content across different platforms can see a 286% higher ROI on their marketing efforts. Batch generation is what makes creating all that platform-specific content actually manageable. For more on this, you can read the full research about content distribution ROI on example.com.
Scaling for Social Media Dominance
Batch creation is useful far beyond just product shots. I've seen influencers use it to animate an entire gallery from a single photoshoot, creating a month's worth of dynamic content in an afternoon. Marketing teams can also spin up dozens of video variations to A/B test their ad campaigns without bogging down their designers.
The trick is to start thinking of your images as a dataset. Once you define the rules for one, you can apply them to the entire set. You're effectively multiplying your output with very little extra effort.
If you’re curious about how this fits into a bigger picture, our guide on using AI for video creation at https://photomaxi.com/blog/ai-for-video-creation offers a broader look at how these tools are changing modern workflows. This level of efficiency frees you up to focus on the fun stuff—strategy and creativity—while the AI handles the heavy lifting.
Getting It Right: Troubleshooting and Exporting Your AI Video
Even with a powerful AI video generator from image, sometimes the first render isn't quite what you had in mind. Don't worry, this is a normal part of the creative process. Most of the time, a few simple tweaks are all you need to fix common glitches like weird movements or flickering.
Taming Unnatural Motion
If your character looks a bit stiff or robotic, the issue is almost always in the prompt. A simple command like "woman smiling" is too vague. Get more specific. Try something like, "a woman's face breaks into a slow, gentle smile, her eyes crinkling." You can also add environmental cues like "soft wind rustling her hair" to hint at more organic movement.
What if the motion is too wild? If your video is jittery or has strange artifacts popping up, the motion strength setting is your best friend. Just dial it back a bit. A lower value tells the AI to create a smoother, more controlled animation, which often clears up flickering issues instantly.
Keeping Your Character Consistent
One of the most common hiccups is seeing your character's face subtly warp or change during the animation. This usually happens when the original photo has tricky lighting or deep shadows that confuse the AI model.
The fix is surprisingly simple: just clean up your source image. Pop it into any basic photo editor and gently brighten the face or soften any harsh shadows. Giving the AI a clean, evenly lit reference point makes it much easier for it to maintain a consistent likeness from start to finish.
Think of it like this: the AI is trying to follow your instructions, but sometimes it gets lost in translation. When you see an odd result, it’s just a miscommunication. Your job is to clarify your instructions—both with your image and your words—to get it back on the right path.
Exporting for Different Platforms
Once you've crafted the perfect video, getting it out into the world is easy. The key is to export with the final destination in mind.
For Social Feeds (Instagram, TikTok): Go with 1080p resolution and a 9:16 aspect ratio. This is the sweet spot for mobile, ensuring your video looks sharp and fills the entire screen for maximum impact.
For Websites, Ads, or Presentations: If you need a more polished, high-end look, exporting in 4K is the way to go. Stick with the standard 16:9 aspect ratio for the best compatibility across most displays.
And finally, a quick word on using your creations. If you're using a platform like PhotoMaxi, remember that paid plans generally include commercial usage rights. This gives you the green light to use your AI videos for anything from social media campaigns to full-blown product ads, completely free of any licensing headaches.
Got Questions? We've Got Answers
Here are a few of the most common things people ask when they're getting started with turning their images into AI videos.
So, How Long Can These Videos Actually Be?
You're generally looking at short, punchy clips. Most of these AI tools are designed to generate videos that are anywhere from 3 to 20 seconds long.
This length is really the sweet spot for social media. Think about creating a "live photo" effect with a bit more cinematic flair, perfect for a TikTok clip or an Instagram Reel. The idea isn't to create a feature film, but to animate a moment in a really dynamic way.
Can I Actually Use These Videos for My Business?
Absolutely, and that's one of the biggest benefits. For the most part, yes.
Platforms like PhotoMaxi roll commercial usage rights right into their paid plans. This is a huge deal for influencers, marketers, and e-commerce brands who want to create video ads or promotional content without getting tangled up in licensing headaches. Of course, it's always smart to double-check the specific terms of the plan you choose, just to be sure.
My best piece of advice? Start with a high-quality image. The AI works wonders, but it can't fix a blurry, low-resolution photo. Clear portraits and product shots against simple backgrounds almost always give the cleanest, most impressive results.
Ready to see what you can create? You can turn your best photos into stunning videos in just a few minutes. Give PhotoMaxi a try and see for yourself. Start creating with PhotoMaxi today!
Related Articles


Ready to Create Amazing AI Photos?
Join thousands of creators using PhotoMaxi to generate stunning AI-powered images and videos.
Get Started Free